Finally! Just like I promised...

Stars & Stripes.JPG

For those of you who haven't (yet) attended my "Stars and Stripes" class: Good News! You can now download the 20-page workbook on Ravelry!  CLICK HERE to get yours.

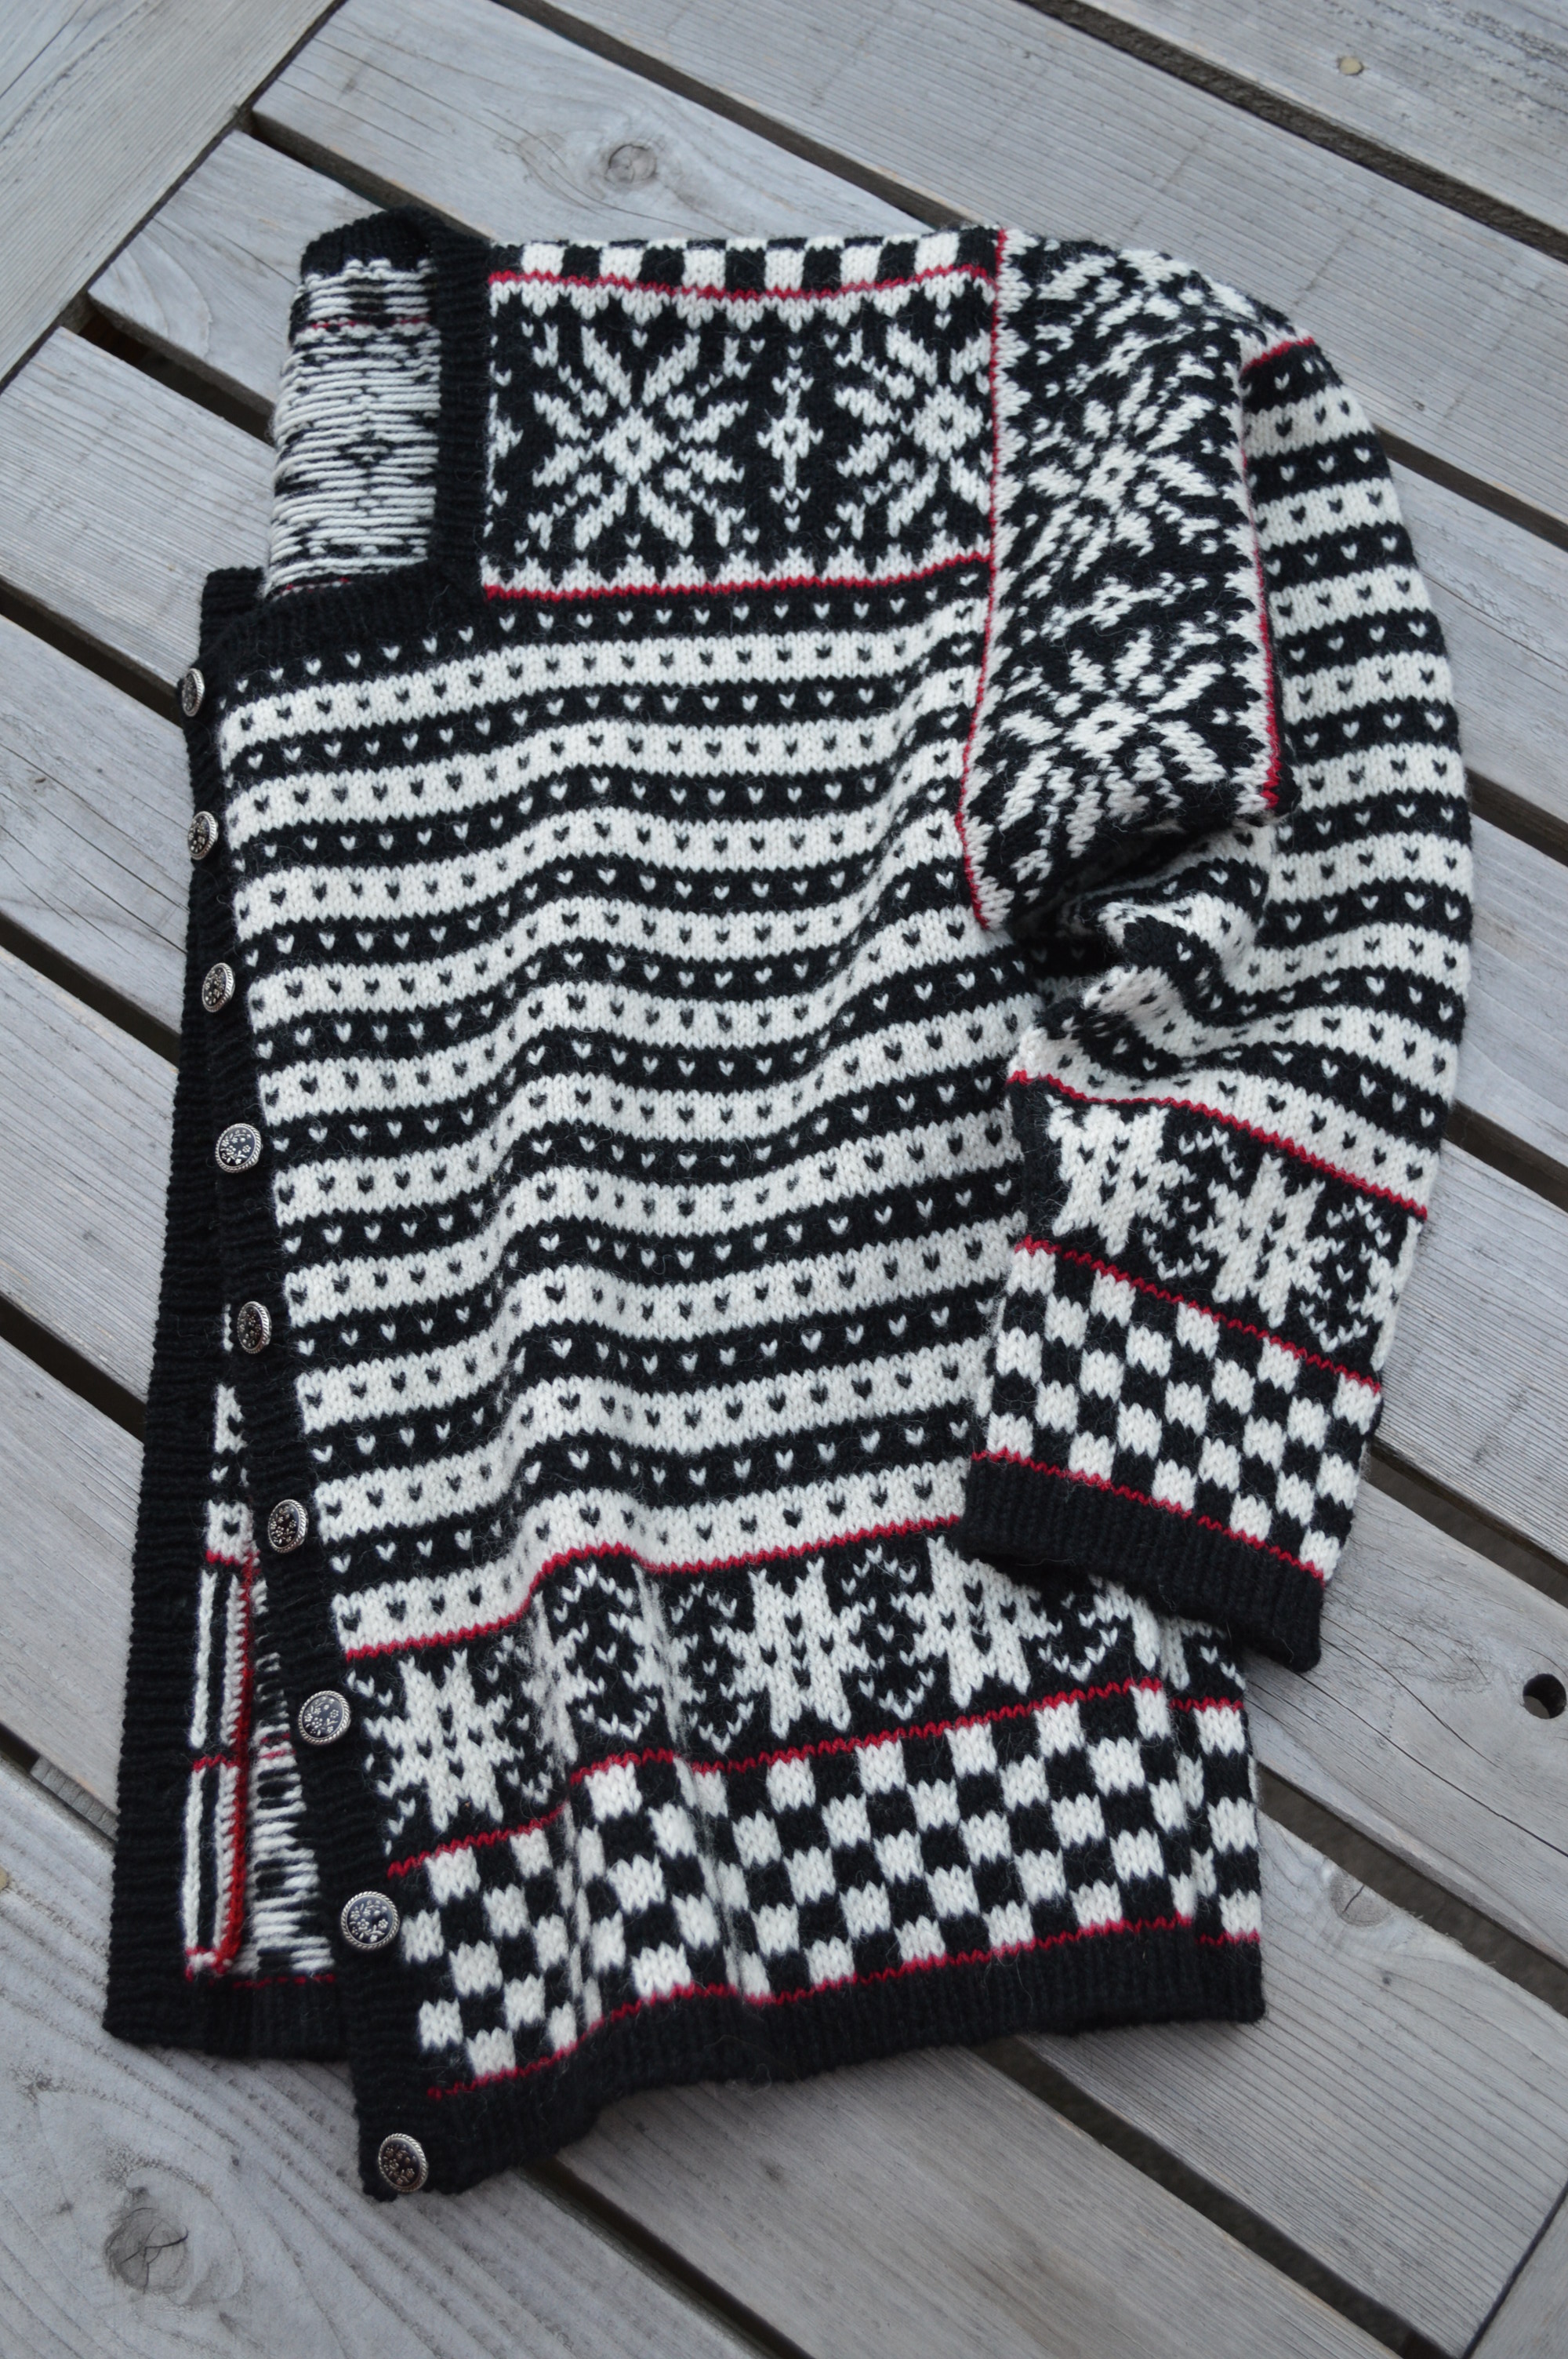
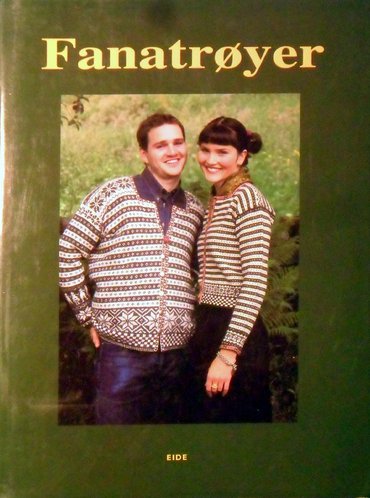
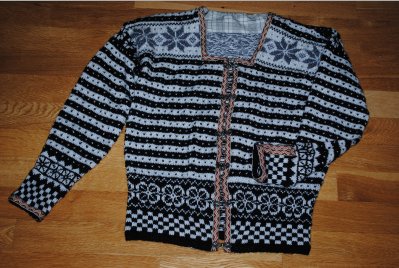
The companion text to my three-hour class, this e-book will guide you through the process of making your own Norwegian Fana sweater, in any size.

From understanding the elements of Historical, Traditional and Modern Fana, to taking accurate body measurements, through all the calculations you'll need, this workbook covers the Fana Formula comprehensively. At the end, you'll find detailed steeking diagrams, and notes on further reading.

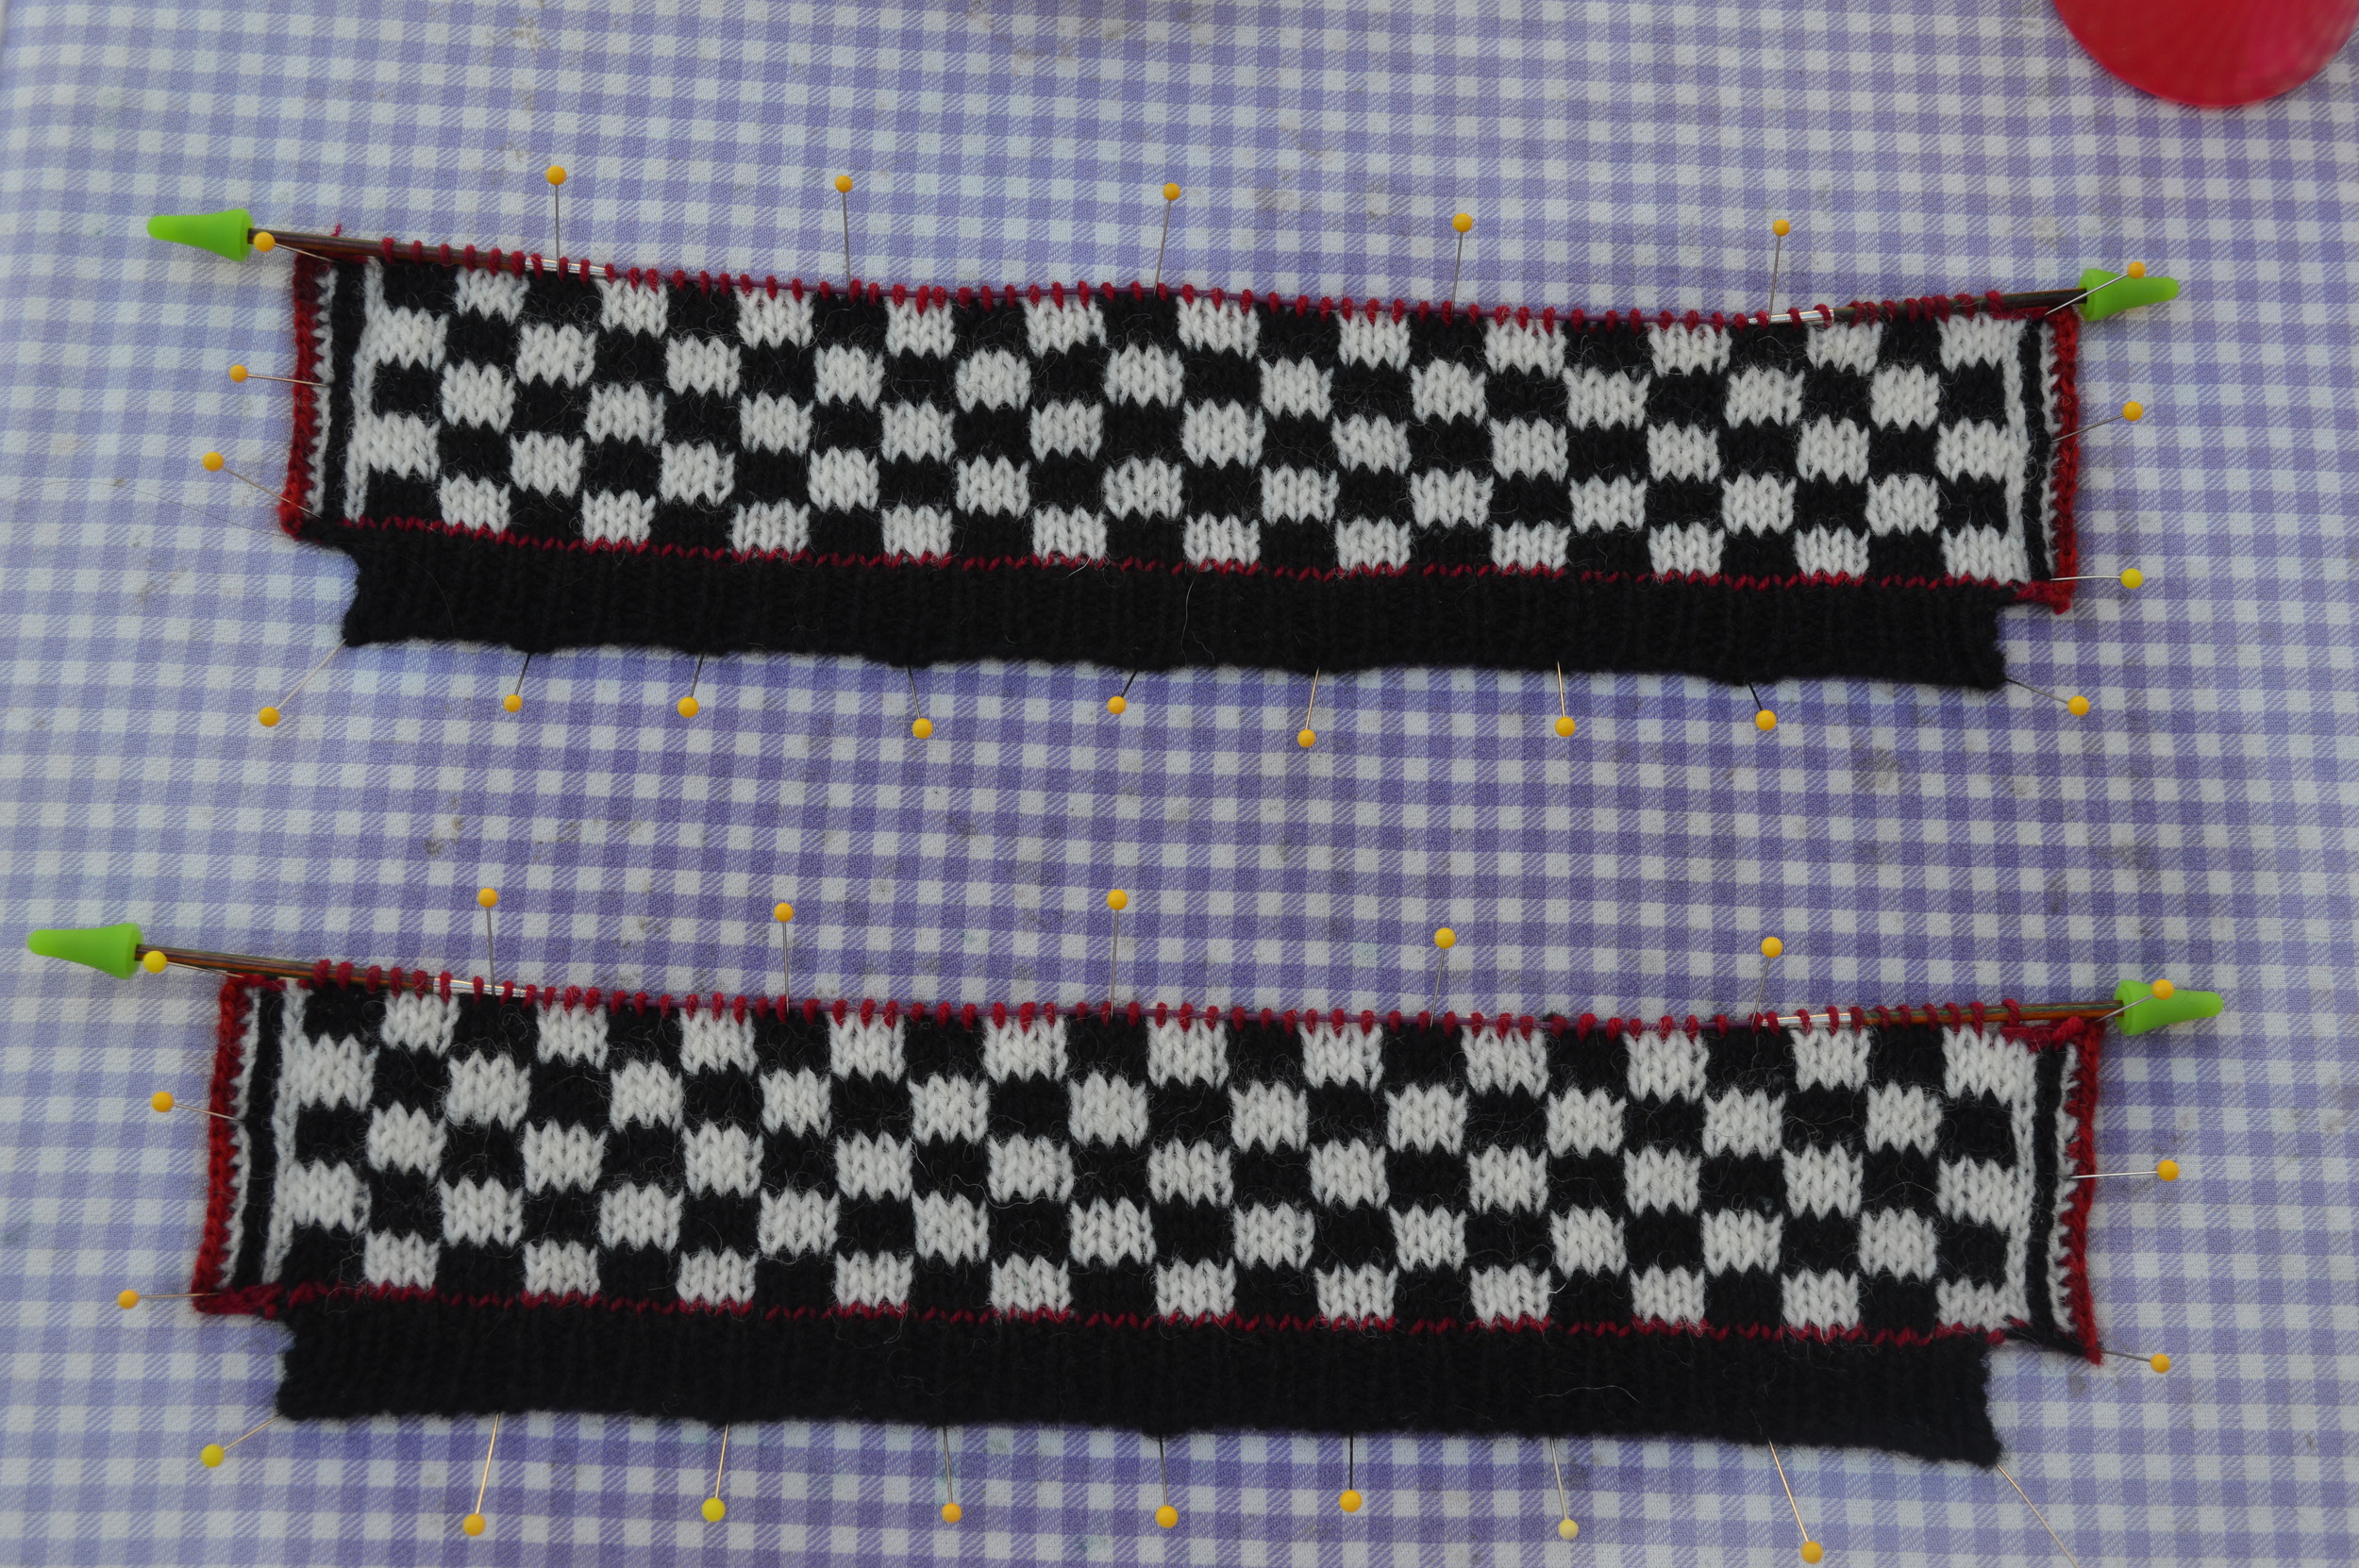
Included are the special star and stripe charts I designed for you: their stitch counts fit easily into Fana of all different sizes. Feeling more adventurous? You can design your own motifs, using the custom gauge-friendly graph paper.

Want more? CLICK HERE to review all my Fana-related blog posts and follow my journey.

I love it when a plan comes together.

Finished Fana

Here is what my Fana looked like last week when I took it to Sandpoint, Idaho to play with the knitters there.  The only things missing are the braid trims and the second sleeve.  That's right. This artfully arranged photo hides the fact that she's really only a one-armed bandit.

I like to make a habit of bringing finished samples to the classes they support, but this time, I just flat ran out of time.  What I didn't know was how useful it would be to show the sleeve-setting in progress.  The cut armhole openings and sleeve-top facings which cover them are routinely the most difficult for me to explain, because once the finishing is done, it's really hard to understand the parts that can no longer be seen.  This little exercise in humility turned out to be a great lesson for me: I need to make a sample which is intentionally unfinished for class. Maybe not full-sized though.

When I got home, the toilet in the master bathroom had come completely loose from its moorings.  Which I had predicted, due to a certain listing sensation we had been experiencing. What I had not anticipated (or perhaps, had tried to deny?) is that the old cracked and grubby tile floor underneath it would cry out for demolition, once I ejected the old throne.  Yep: Before I knew it, I was ankle deep in ceramic shards, swinging a sledge hammer like one possessed.  I hated that floor for almost every day of the eight years since I had (very poorly) installed it. Turns out that ceramic tile (and its removal) is just not my medium.  I've sworn off both for good. Once I had the floor out, I could finally repaint the walls to match the new towels I scored last May.  Phillip has been asking me weekly why we couldn't use the new towels without first changing the wall color.  What an amateur.  Has he not met me before?  The old wall paint was red, for pity's sake.

In the midst of the Bathroom Reboot, Phillip came down with a chest cold that I feared was pneumonia.  It wasn't, but it took a chest x-ray to convince both me and his doctor.  He's recuperating very slowly, all the while barking like a bull walrus.  Seriously, the poor man is rattling the windows.  And yesterday was Campbell's 13th birthday, which I tried my level best not to have overshadowed by the other dramas.  He assures me I did an adequate job of celebrating him, but I still worry that his bar is set artificially low.

DSC_0146.JPG
DSC_0147.JPG

Anyhow, the new floor, and the new loo, (and fluffy towels and cheery shower curtain) have definitely improved my attitude.  Eight years is a long time to be mocked by an unfortunate DIY project.  Oh, and I *may* have replaced the doorknobs, too, while I was at it.

With the plumbing, and the patient, and the newly-minted teenager (sort of) all under control, I returned my attention to the Fana.

As you can see, it now sports two sleeves, each with anatomically-mounted, functionally-buttoned cuffs.

DSC_0163.JPG

And yes, there are four different trims on it now.  Once I get going, I just can't stop.

Even Though I'm Right, I'm Wrong

I paid really close attention to the antique Fana cardigan in this photo:

My favorite thing about it? ANATOMICAL CUFFS.  Look closely: The cuff openings will fall at the wristbones, not on the undersides of the sleeves, where the rounds would usually begin and the increases happen.  This would require some deft maneuvering to replicate, and you know that I do love me some sexy sweater construction.  But how to get the openings rotated a quarter of the way around each wrist?  
 

Option 1:  Knit the sleeves normally, one at a time. Then cut the opening where you want it and bind its edges with ribbon.

Option 2:  Knit the cuffs together with steeks in between.  Separate the cuffs, then place them each on needles with the openings oriented as needed, but start each subsequent round a quarter-cuff away.  Repeat for second sleeve, in reverse.

Option 3:  Leave no actual opening at all, but add trim and buttons to mimic one.

Option 4:  Abandon the entire cockamamie exercise.  My sweater cuffs stretch, so why do they need buttons anyway?

Guess which option I chose (Hint: Hardest. Possible. Way.) ?

#4 was out because omitting buttons means less decoration.  Have we met?

#3 made my teeth itch.  I hate fake pocket welts, shirts with no top button, and all other construction shortcuts that limit my wearing options.

#1 wouldn't work because it would force me to fold my ribbon trim in half over the edge, messing up my surface design concept.

I picked #3:

DSC_0147.JPG

First I worked 2 cuffs together, with steeks in between.

Then I cut them apart.  The steek edges turn under like a hemmed edge on each end. Live stitches are held on short circular needles in this photo.

I won't sugar-coat it: getting the location of the opening right on the needles, then centering the pattern above it, then reversing everything for the second sleeve was not the rollicking hoot I had hoped for. Maybe I'm, dyslexic, but the whole right/left thing made my panties twist. But I prevailed!  Those cuffs are exactly where I wanted them, HOW I wanted them.  

And then the Norwegian book about Fana sweaters finally arrived from Australia.

This book answered all of my prayers for information.  And even though I don't speak Norwegian, I do speak photographs.  And do you know what's in every single photo of every single cuff?

Openings in line with the underarm increases.  Hundreds of Fana sweaters cataloged and photographed, and not a SINGLE ONE with anatomical, offset cuffs, like mine.  So even though I got it right, I'm still wrong.

I had bizarrely found the only photograph of the only offset-cuff Fana in existence, and killed myself to copy it, in a misguided attempt to follow tradition.

I know enough about knitting to understand that the techniques which become traditional do so because they 1) serve a purpose (getting Olaf's ham-hands through a close-fitting cuff), and 2) are simple to execute (cuff-opening located at underside of sleeve = intuitive + easy to knit). I should have listened to my creeping suspicion that multiple generations of Norwegian knitters were not working this hard.

I've decided to love my anatomical cuffs, anyway, in spite of their being anomalies.  Because now I have something interesting to tell my classes about Fana sweater construction.  I feel proud to have made this mistake for you, so now you don't have to.  

Just one more service I provide.