Casting About
In my hysteria enthusiasm to start the Kingscot with my newly refurbished yarn, I managed a new trick. My loathing for ribbing stems mostly from its inelastic (and inelegant) cast on edge. And if I dislike 1 x 1 rib, I hate 2 x 2 at least twice as much.
But there is no denying that the 2 x 2 rib used in the Kingscot cardigan is not only beautiful, it's an integral part of the silhouette. So 2 x 2 it had to be, but I just couldn't settle for the usual cast on edge. Enter my pal (okay, I've never met her, but she's sure given me a lot of cool tricks) Montse Stanley. Montse maintains that there is no perfect cast on edge for 2 x 2 rib because they all slant unattractively. This one slants as well, but I think it's as close to perfect as knitters have gotten. Read on, try it out, and weigh in! Do you know a better way? Yes, it's fiddly, and there's that waste yarn to mess with. But I think the end result is totally worth the trouble. Here's how:
1. Cast on 1/2 the number of stitches required, using smooth waste yarn. Any old cast on will do - just get the stitches on. This only works for even numbers; in my case, I ultimately need 80 stitches, so I cast on 40.

40 sts cast on in smooth strong waste yarn.
2. Now purl one row:

One row purled.
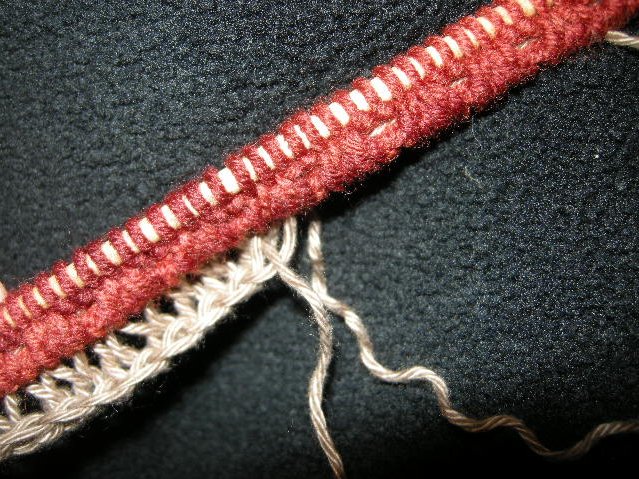
3. Thus begins the fiddly bit: Knit the next row, but instead of wrapping the yarn around the needle once as you normally would, wind it around a second time. That's two wraps for every single stitch.
Knit row, with each stitch wrapped twice instead of the usual once.
4. Break the waste yarn and start working with your real yarn on the next row, which will be all purls. Notice that as you knit into the twice-wrapped stitches from the previous row, you get great big elongated stitches of waste yarn. These will help you in the next step. Work a total of 4 rows in your real yarn. You still only have half the number of required stitches (in my case, 40).

4 rows worked in real yarn. Double-wrapped waste yarn row creates elongated waste stitches.
5. Now find another needle a couple of sizes smaller than the one you are using for the ribbing. Mine is a gold one in this photo. Working from the wrong side, use your finer needle to pick up the purl bumps of real yarn from its first row.
Picking up the purl bumps of real yarn.
Keep going until you have picked up every single purl bump onto your finer needle.

All the purl bumps are now stitches on the finer needle (below). Original needle is still in place (top).
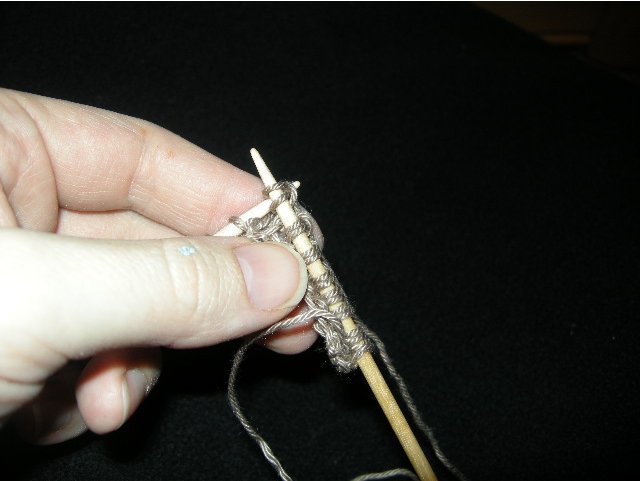
6a. Next, using the mate to your original needle (same size as the ribbing will be worked in), purl 2 sts from the top needle.

Purl 2 sts.
6b. Now knit 2 sts from the lower (finer) needle, and repeat to the end of the row.

p2, k2, repeat to end.
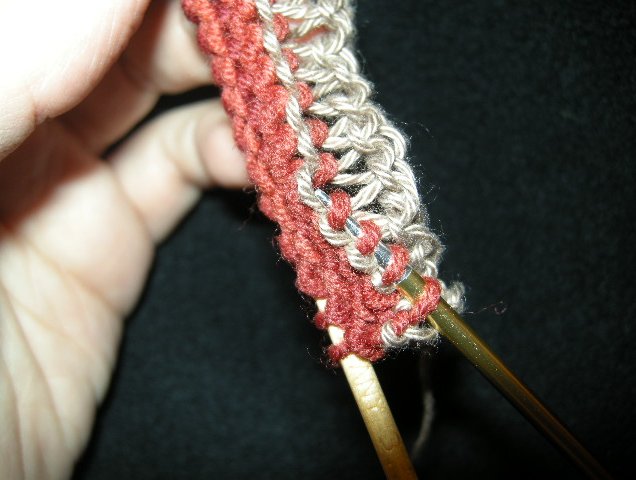
This is what it looks like at the end of steps 6a & 6b. You have folded those first 4 rows of real knitting in half horizontally, into a tubular edge.
Kickass 2 x 2 tubular edge shown from the wrong side.
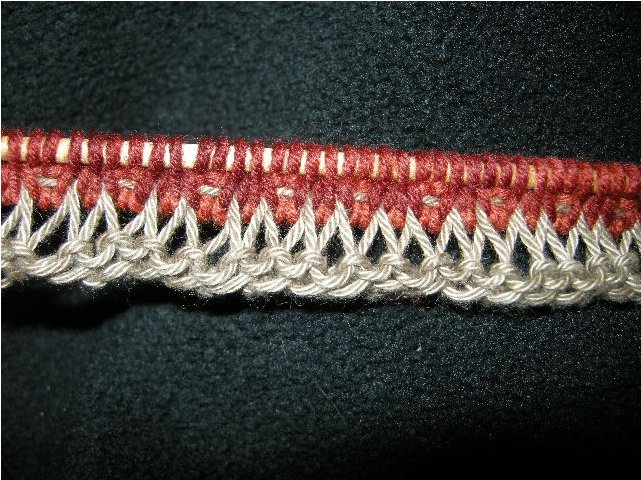
Kickass 2 x 2 tubular edge shown from the right side.
7. Last, either cut or unknot the waste yarn and pull it out.
Waste yarn removal.
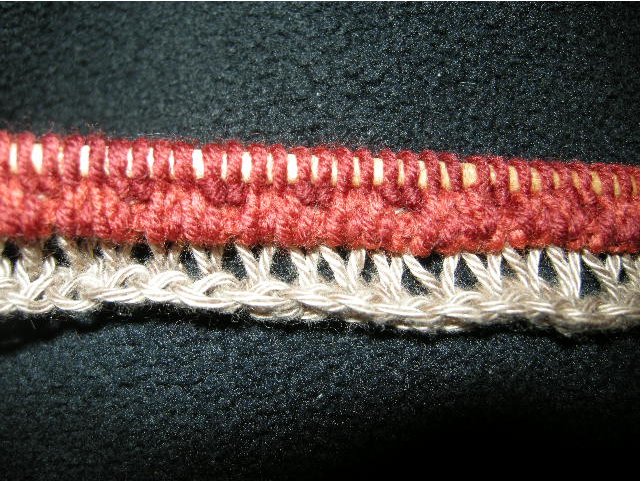
Continue in 2 x 2 rib as you normally would, but with a well-earned degree of smugness.
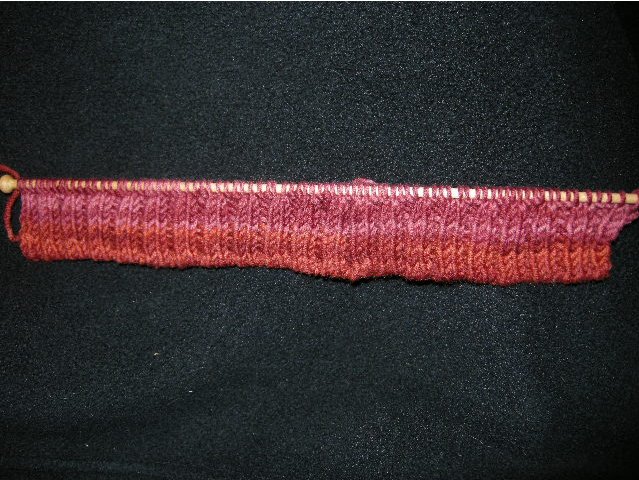
Totally elastic tubular edge, with no visible cast on loops at lower edge.

Fiddly and worth it.
I will never approach hat edges or sock tops, or any 2 x 2 edge with fear or loathing again. And now you, Gentle Readers, are free as well. Knit Long and Prosper.