How to Make a Kiltmaker's Pincushion

I promised my pal Dave from Kilt school that I'd send him some of my favorite Japanese sewing needles.  Which immediately shifted to the rear burner when I got home and remembered I had to finish writing a book.  And writing two new classes.  And making a new sweater.  Dave's been been patiently waiting through all that, just to get some needles.  I got them finally, and decided it would be nice to send a little surprise along with them.  

One peculiarity of the kiltmaking process is that the maker needs a pincushion that can be operated with one hand.  When you reach for a pin, your other hand is always holding a pleat firmly in place.  And most pincushions lift off the table when you grab a pin one-handed. And yes, those magnetic thingys are heavy enough to stay put, but you can't be assured of grabbing the non-pointy end of the pin every time. Ow.

So, self-proclaimed Clever Beastie that I am, I decided to solve the problem, while making a weighted pincushion for Dave.

At the end of every kilt, there are leftover scraps from where each pleat is cut away.  I thought it would be a fun forget-me-not to use some of mine for Dave's surprise.  I cut two scraps into circles, and applied some iron-on interfacing to their backs (kilt tartan, though heavy, is actually somewhat loosely-woven, so the interfacing will keep the twill firm).  Then I cut two more, slightly smaller circles from scrap fabric.  The size of my pincushion was dictated by the size of my tartan scraps; about 5 1/2 " in diameter.

Pincushion 2.JPG

I considered several options for material to weight the pincushion. Pennies would be too hard to tuft through.  Fishing weights were too expensive.  Beans or rice might mildew in time. Buckshot would have been ideal, but I was all fresh out and much too lazy to procure any. Finally I just pilfered a handful of pebbles from my neighbor's footpath.  I washed them with soap and water in a strainer and let them dry completely.  Next, I stitched the two smaller circles together, leaving an opening for pebble-insertion.  Sidebar: Barb Tewksbury, our kiltmaking teacher, is a geologist by trade.  I feel sure she'd approve of the rocks.

Pincushion 3.JPG

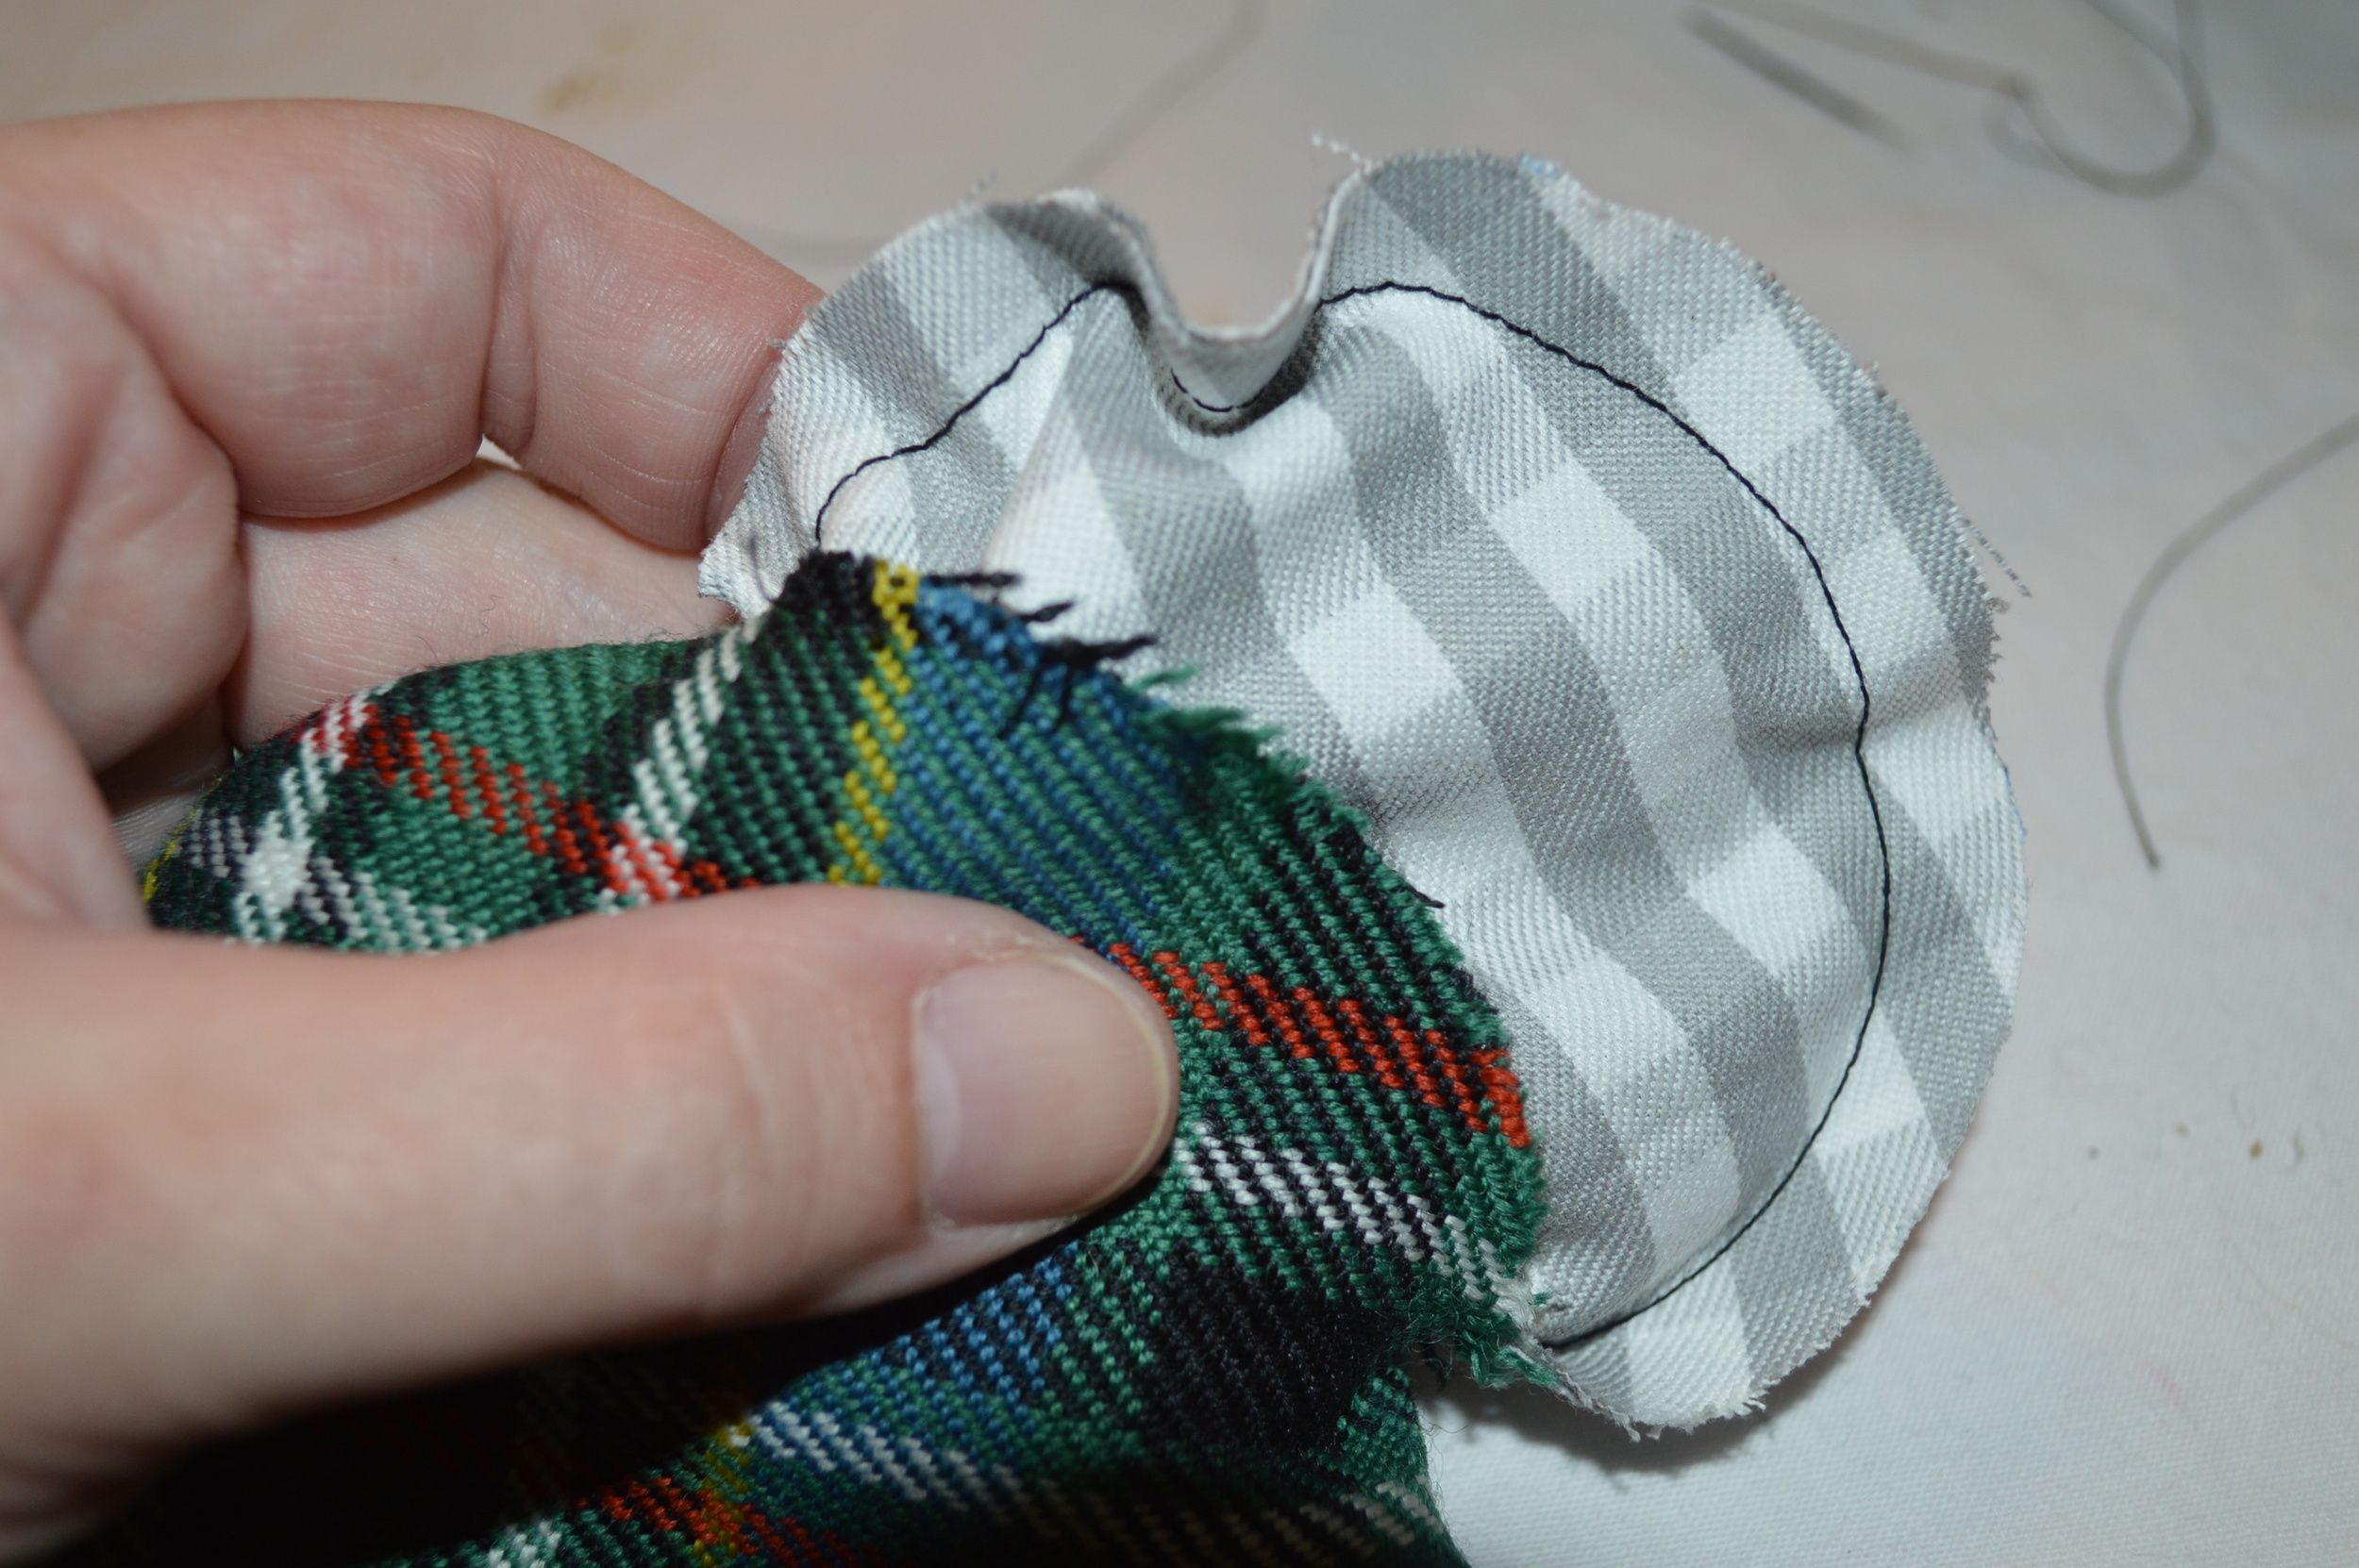
I stitched my tartan circles together, leaving an opening for stuffing, and poked the bag-o-rocks inside.

With the pebble packet on the bottom, I stuffed the upper part of the cushion firmly with wool roving, and sewed the opening closed by hand.

Pincushion 5.JPG

I threaded about 2 yds of narrow ribbon through the longest ribbon embroidery needle in my collection, and stabbed it straight through the cushion from top to bottom.  It took a few attempts to wiggle the tip of the needle through the pebbles and make it come up in the center of the bottom, but eventually I got it right.  I used a thimble and pliers to work the needle through all the layers, and left a tail of ribbon about 8" long on top of the cushion.

Here you can see how I made the "petals" of the cushion.  I just worked a big "stitch" with my ribbon, around the edge of the cushion, and back up through the center where I started.

Pincushion 7.JPG

I pulled the ribbon snug, then made another stitch on the opposite side of the cushion, again coming back up through the center starting point.

Pincushion 8.JPG

Here are two more ribbon wraps, just like the first.

Pincushion 9.JPG

I made a total of 6 ribbon wraps, pulling each one snugly.  Then I made a small (1/4") ribbon stitch on the underside of the pincushion, bringing the needle back up through the center of the top.  I passed each end of the ribbon through the shank of a button, knotting securely, and buried the ends inside the pincushion.

Pincushion 10.JPG

Done and Done.  I tested it, and am happy to certify that this is an Official Kiltmakers One-Handed pincushion.  I'm predicting a few more of these in my future...

Cobbling

Today I'm finishing up one last pair of slippers.  This project will be released as a free pattern, to promote Fun and Fantastical Slippers to Knit. 

When I started this book, one of my first questions was "How can we make handknit slippers more durable?"  In the process, I've discovered a few tricks to help slippers last longer, some more involved than others.  This is one of my favorites, so I thought I'd share it today.  I give you: 

Adding Leather Soles to Handknit Slippers

Step 1:  Trace around the finished slipper onto scrap paper.  You can either use this tracing as is for a full sole, or you can make split soles, like I'm showing here.  The advantage to split soles is that they require less leather, and they leave part of the slipper sole exposed.  This is a good thing if you ever have to wash your slippers; they can be more easily dried and reshaped with less leather on the bottoms.  To make split soles, draw a large oval over your tracing at the top (toe and ball of foot), and a smaller one at the bottom (heel).  Cut out the ovals and trace each one onto the wrong side of some leather scraps, twice.

Step 2:  To make the leather easier to manage, poke some holes all the way around each piece.  A punch or awl work fine for this.  If you have a sewing machine, though, here's a sexy trick:  Install a leather needle, without any thread in the top or bobbin of the machine.  Set the stitch length to the longest possible setting, and carefully "sew" all around the edge of each sole piece.  Voila!  Perfectly spaced stitching holes.

To sew the soles on, use a hand sewing leather needle and heavy waxed cotton thread.  The tip of the leather needle is an extremely sharp, triangular harpoon of a thing, so don't pull it with your fingertips.  Instead, push it from the eye end with a thimbled finger as far as you can, then pull it the rest of the way through with small pliers.  Trust me: this is the best way to avoid hamburger-fingers.

Step 3:  Now hold your leather piece against the bottom of the slipper (this one is felted, but you can attach leather soles to any kind of slipper).  Leave about 6" of thread, without knotting, and start stitching around the oval.  

A simple edge stitch (shown here) works fine, or if your stitching holes end up further inside the edge of the oval, a blanket stitch is good, too.

Cobbling 4.jpg

See the point of the leather needle?  Not kidding about hamburger-fingers.  Be careful!

Step 4:  Now end with a surgeon's knot.  4a: Cross the thread ends as for a square knot.  4b (shown):  Cross the thread ends twice and pull tight.

Bury the ends between the leather and the slipper bottom, then trim.  

All done!  To make your slippers super-dreamy, install a pair of squishy insoles from the drugstore.  Just cut them to fit and slip them inside.  I've been wearing a pair of slippers soled like this, both indoors and out, for over a year and they are holding up beautifully.  They've been washed and reshaped two or three times too, with no trouble. 

HA HA - I bet you thought you'd get to see the whole slipper, didn't you?  Not today, my friends.  I'm feelin' sneaky!  But don't worry, it won't be long, and I promise you're gonna love them.

Mi Scalloped Border es su Scalloped Border

I only know a few key phrases in the Language of Lace, without any real mastery or context (and my accent is probably terrible).  I'd say I'm just fluent enough in Lace to order a beverage and locate the loo.

Fortunately for me, a little lace goes a really long way most of the time, so I use it with restraint, and repeat elements wherever possible, for continuity and cohesion (or at least, that's the goal).

Case in point:  Gentle Reader Millie sweetly asked about the border I used in my EPS cardigan, which made me think you might like to experiment with it too.  It's super-simple, and the repeat is so short you can easily stick it just about anywhere.  I combined mine with 2 x 2 ribbing, but there are lots of other ways and places to use it.  Here's the chart for you (feel free to reproduce and share):

Mi Scalloped 2.jpg

Cast on a multiple of 6, plus one.  Row 1 is worked from the WS.  My photo shows a cable CO, but long-tail would be pretty, too, and has the advantage of starting with the WS facing for the first row. 

Remember that this needs to be worked from the bottom up, so if you want to put it on the cuff of a sleeve, like I did, you'll probably want to work that sleeve from the bottom up, too.  I thought of that too late and had to resort to grafting acrobatics.  Oops.

Other than that small requirement, you'll find that this is a very well-behaved little edging; one that will be welcome in lots of interesting places.  Where will you find to put it?