Sexy Steeks
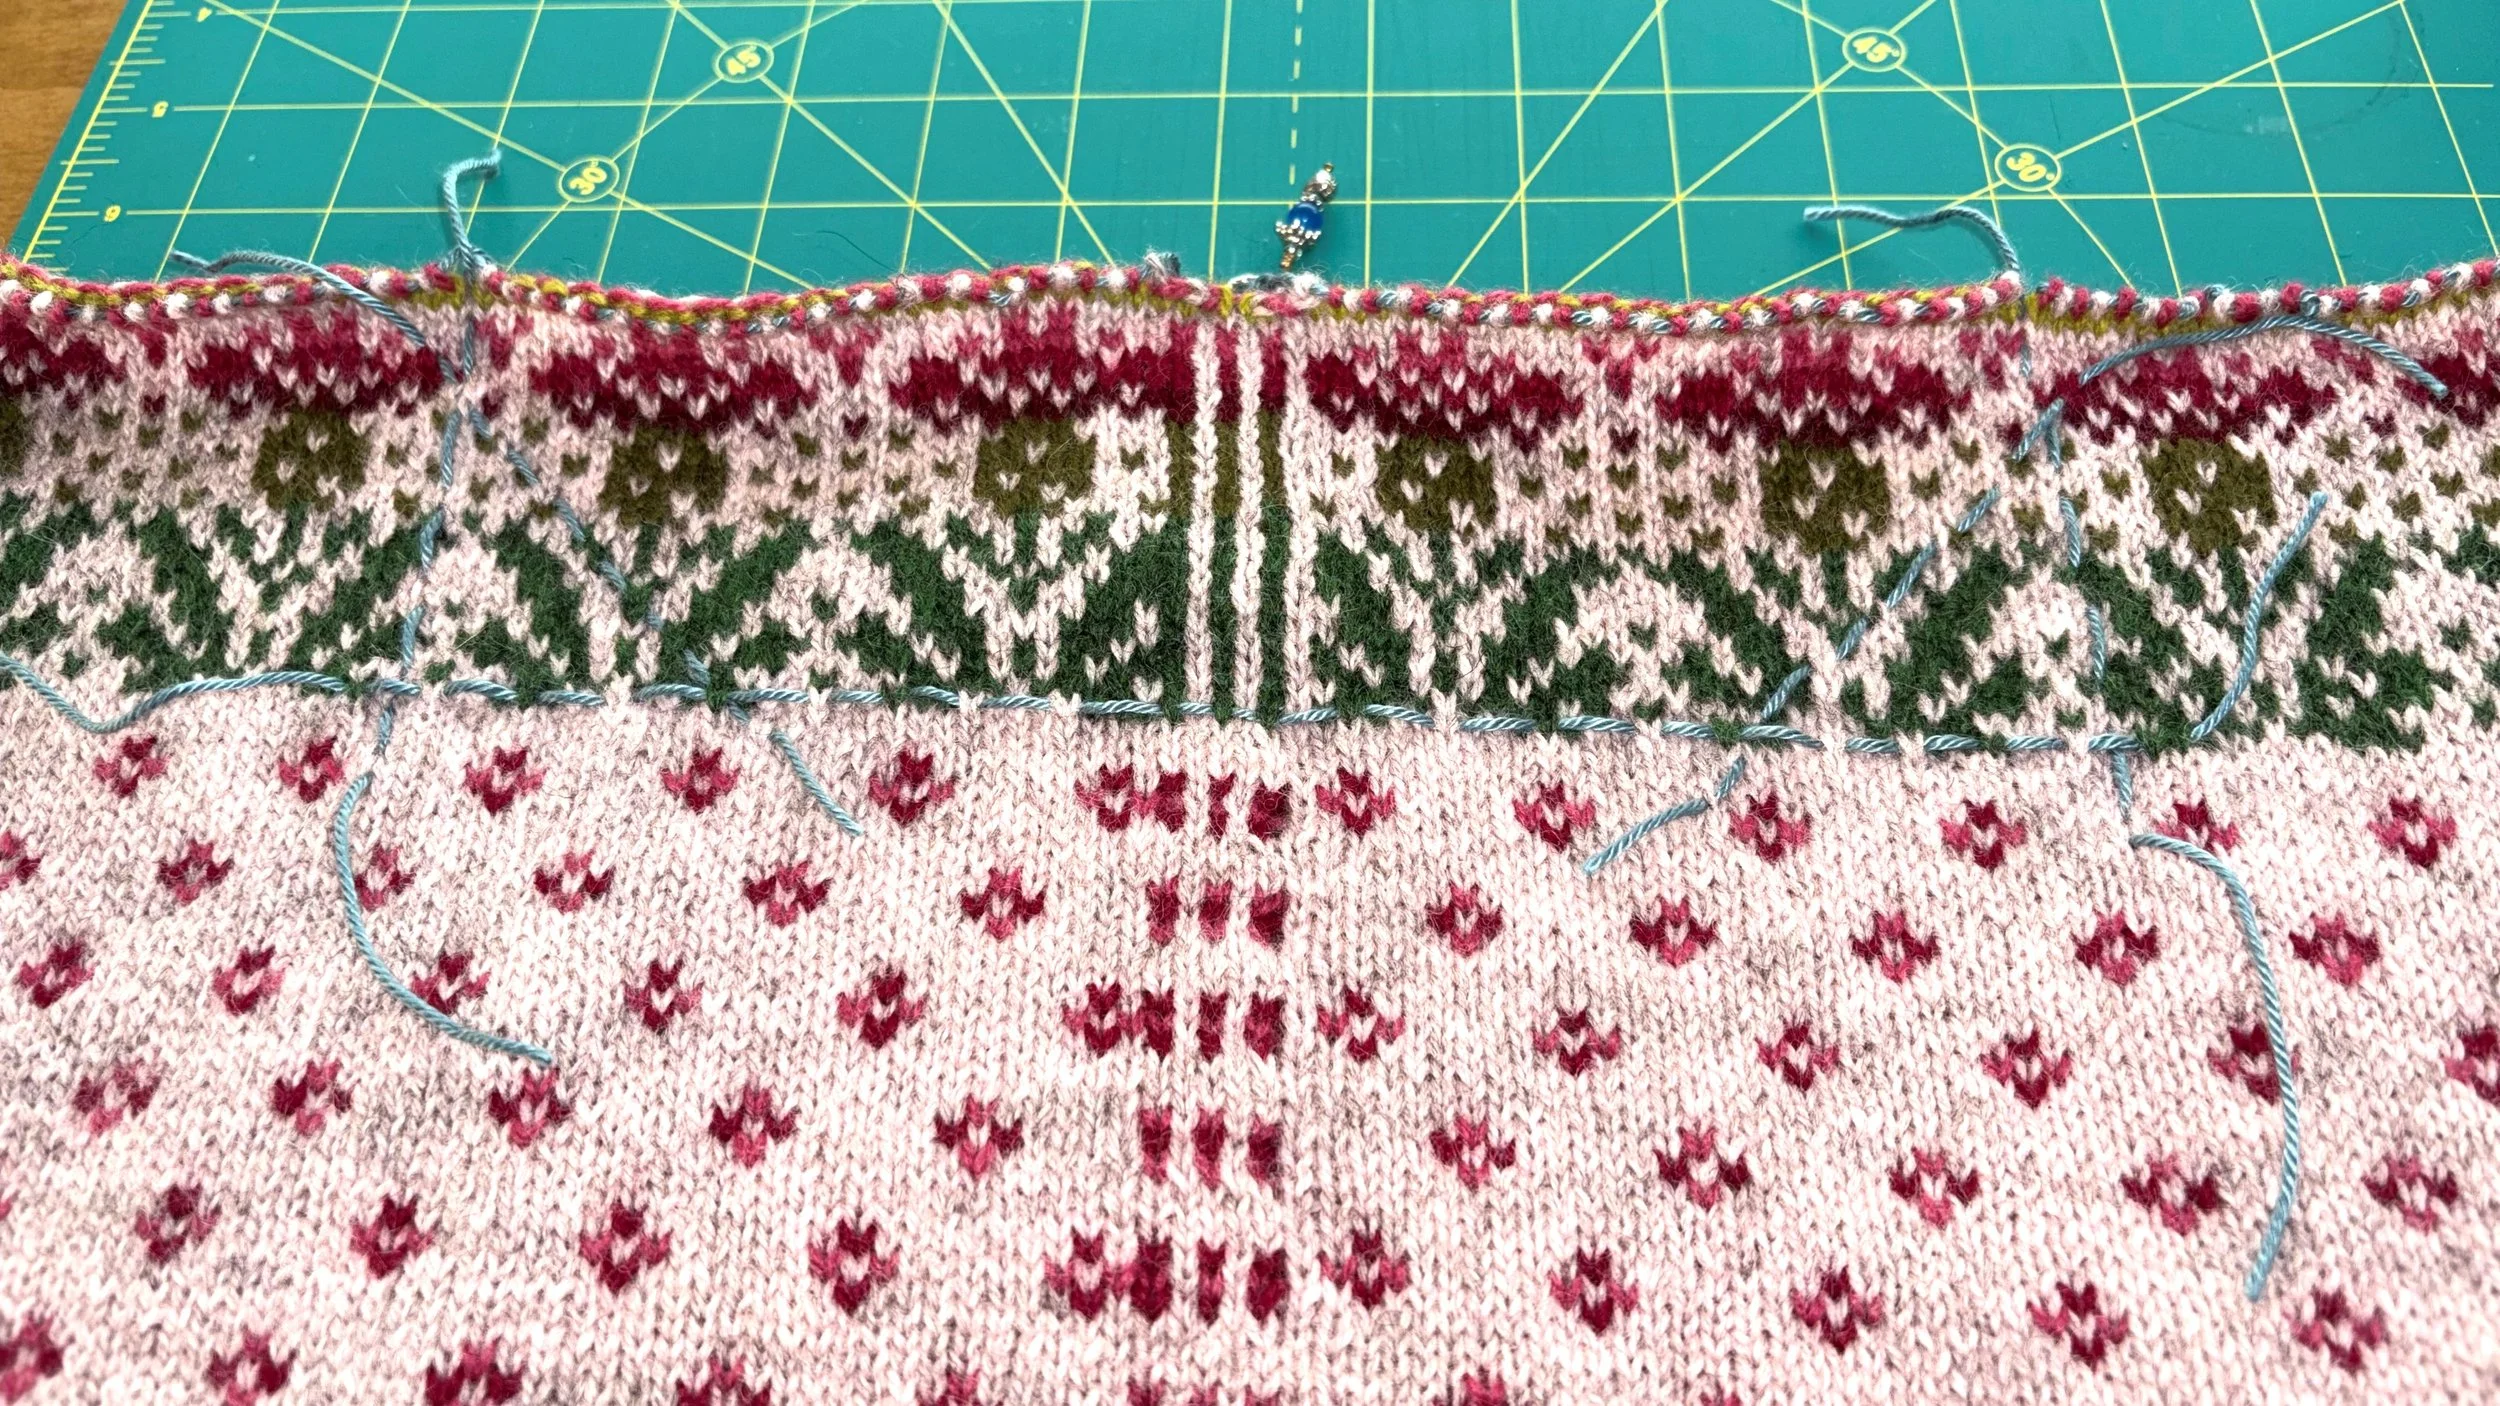
MISSION IMPROBABLE: Create a bold vertical band on the cardigan front, using the same chart as the lower border. Unbidden, a vision of the finished thing came to me and would not let me out of its teeth.
But that’s not how knitting works: The chart demands to be worked horizontally, and crucially, in the round.
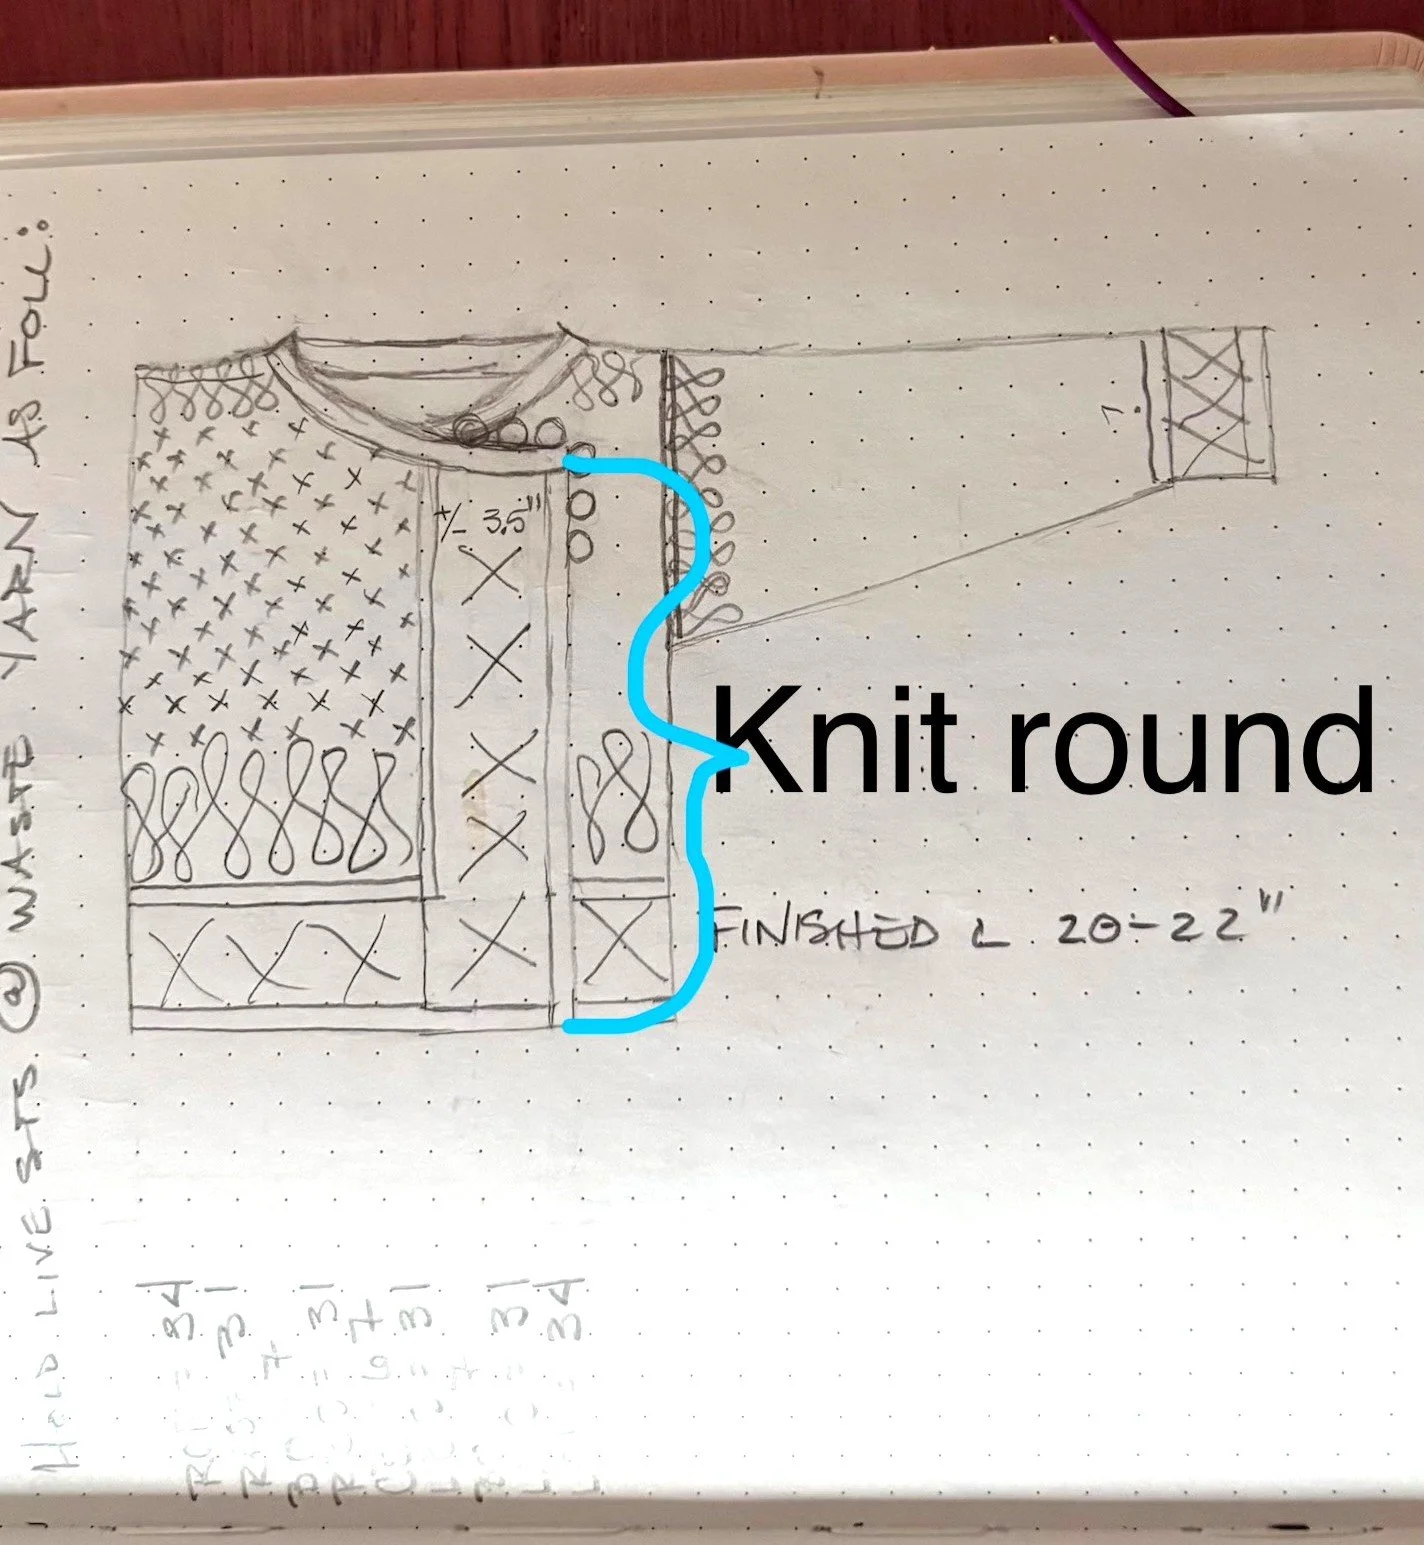
Exerpt from the Beautiful Mind notebook
I noodled on different ways to get what I wanted till my noodler was sore. Seriously, I experienced Intrusive Thoughts of the finished thing.
Do not try to explain this to anyone while you are knitting it
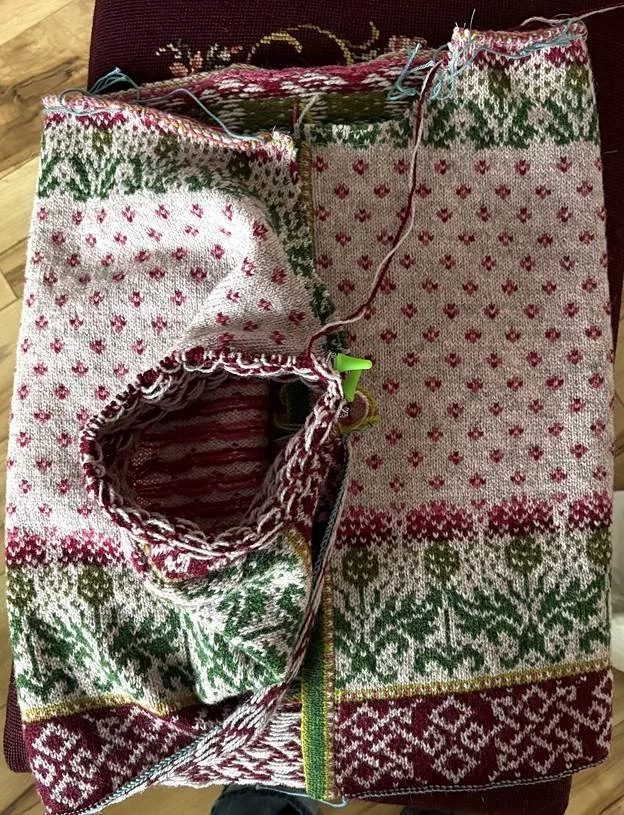
We’re used to picking up and knitting horizontal bands back and forth on cardigan fronts. It’s a short evolutionary hop to just join the ends of the band and work it as a tube. Right? Not crazy at all. Probably. I’m pretty sure.
This is just crazy enough to work, amiright??
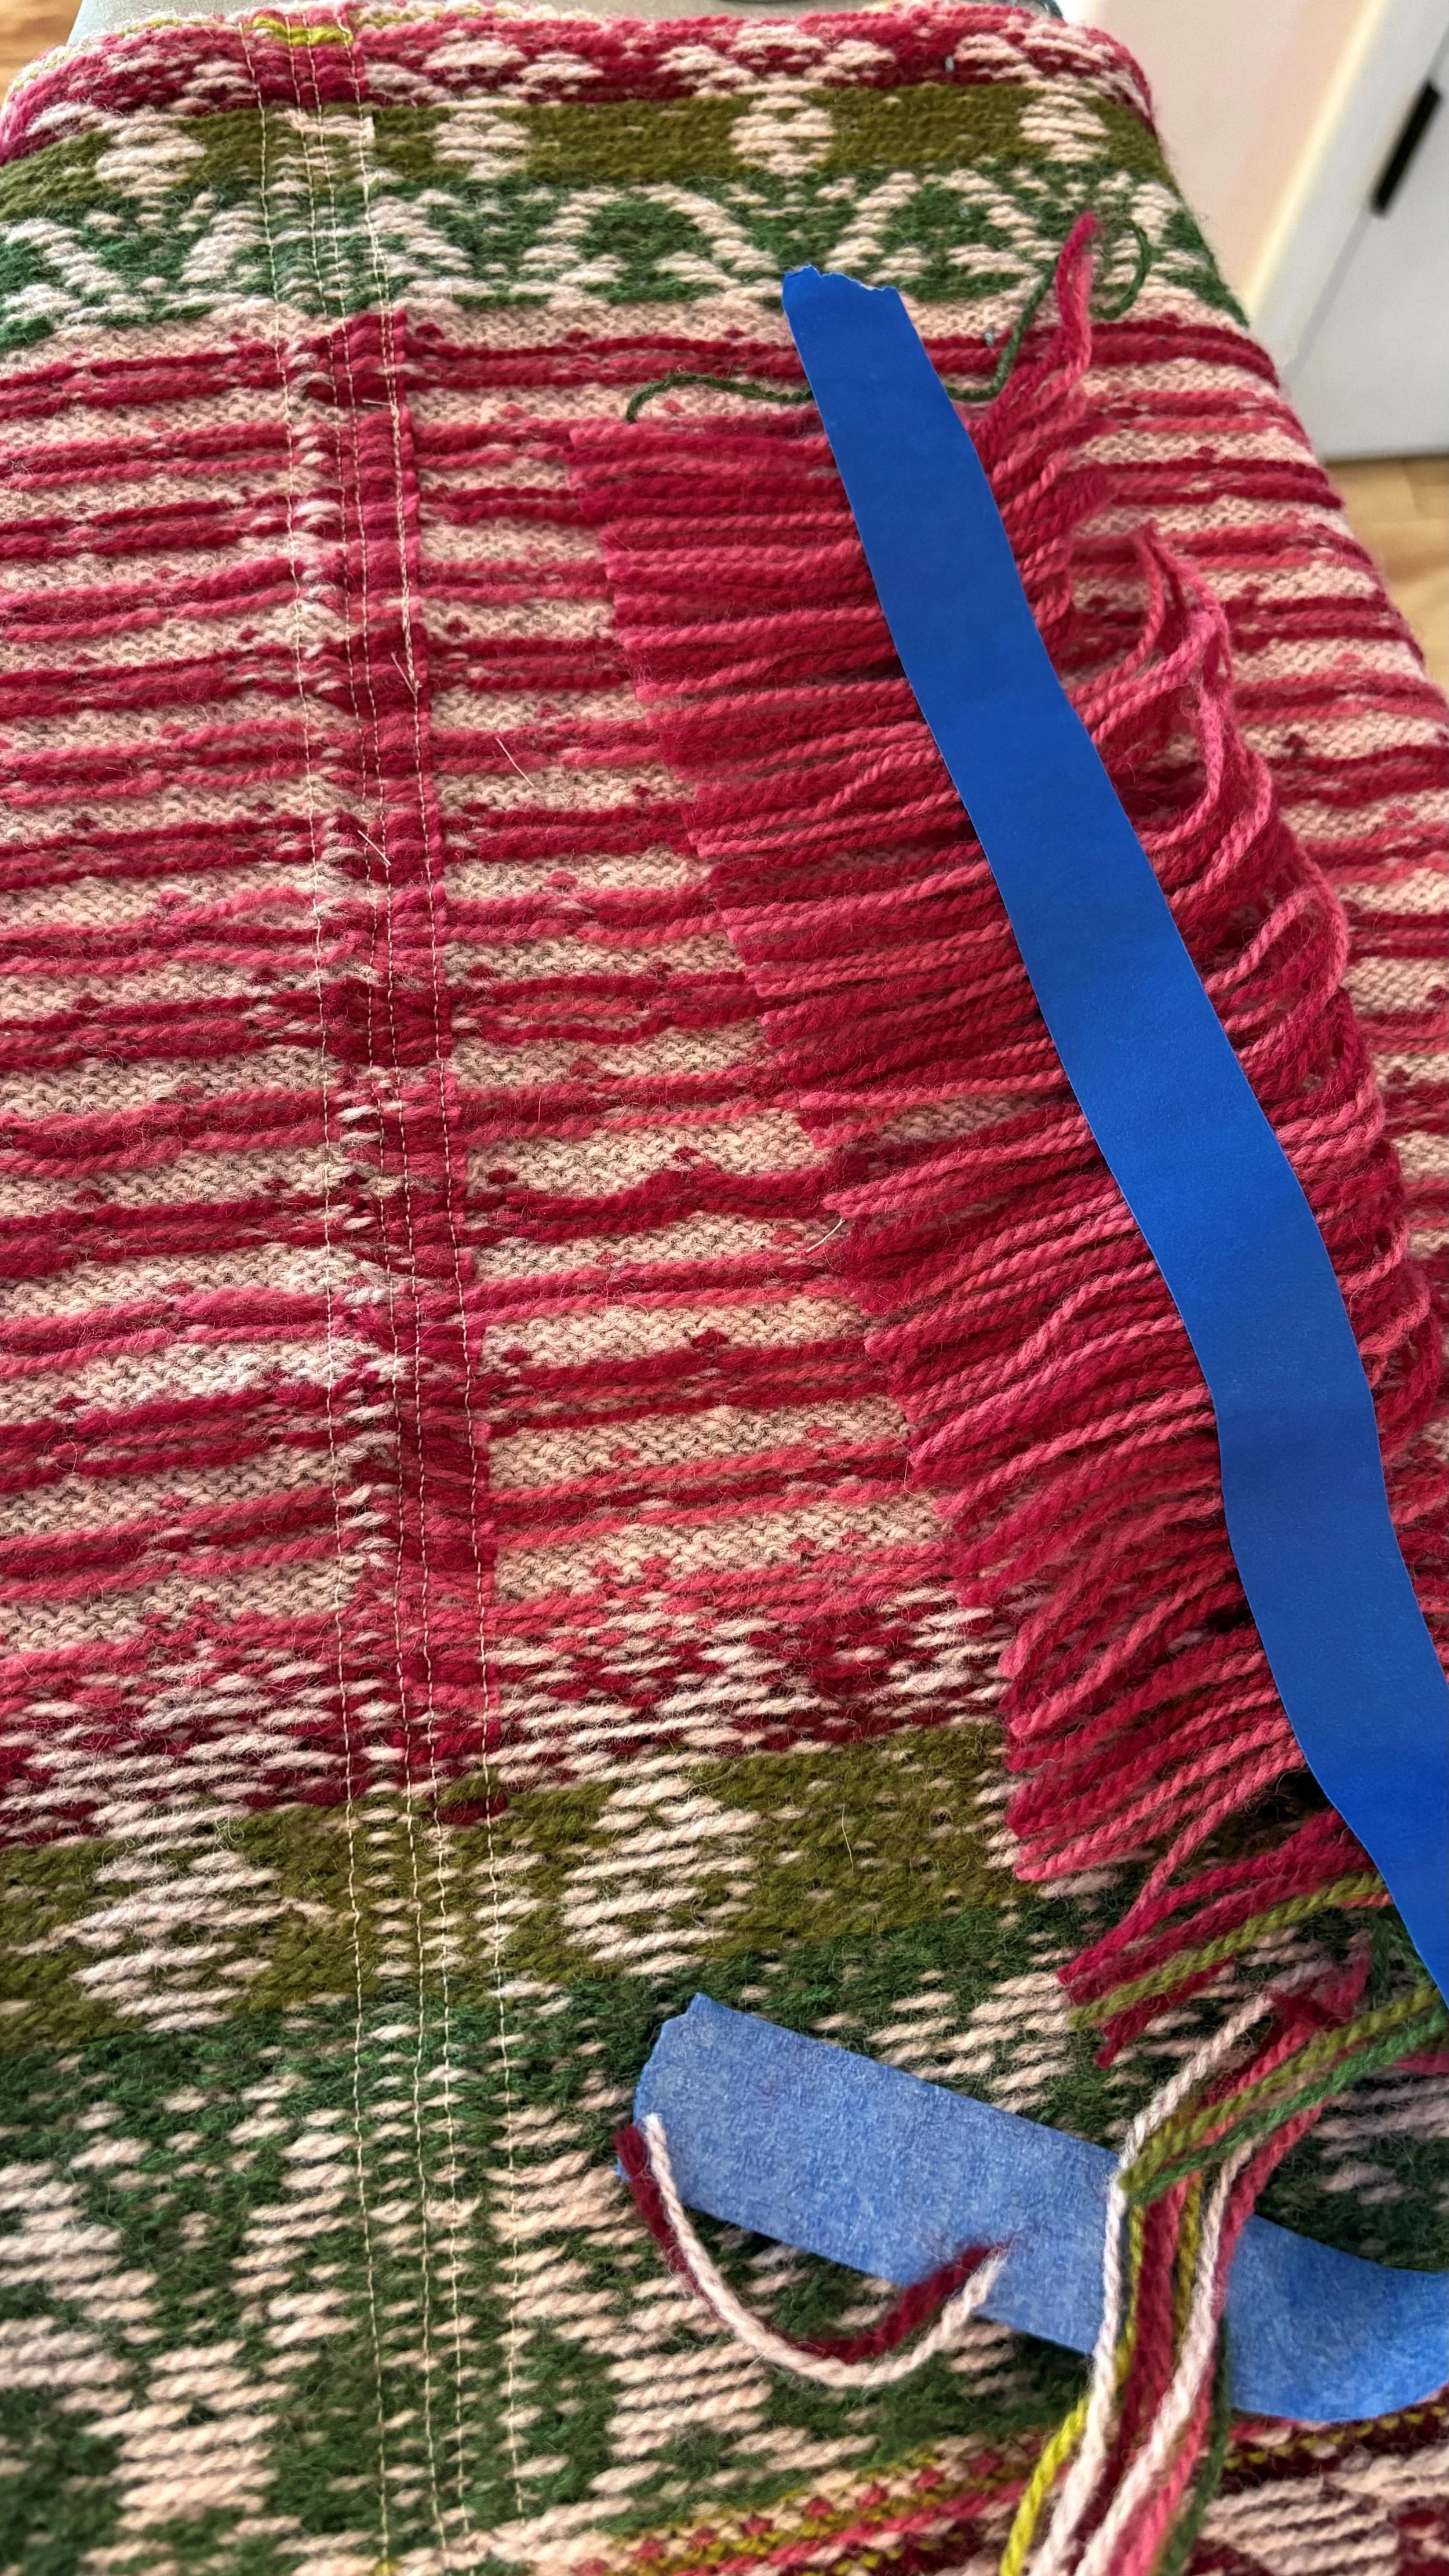
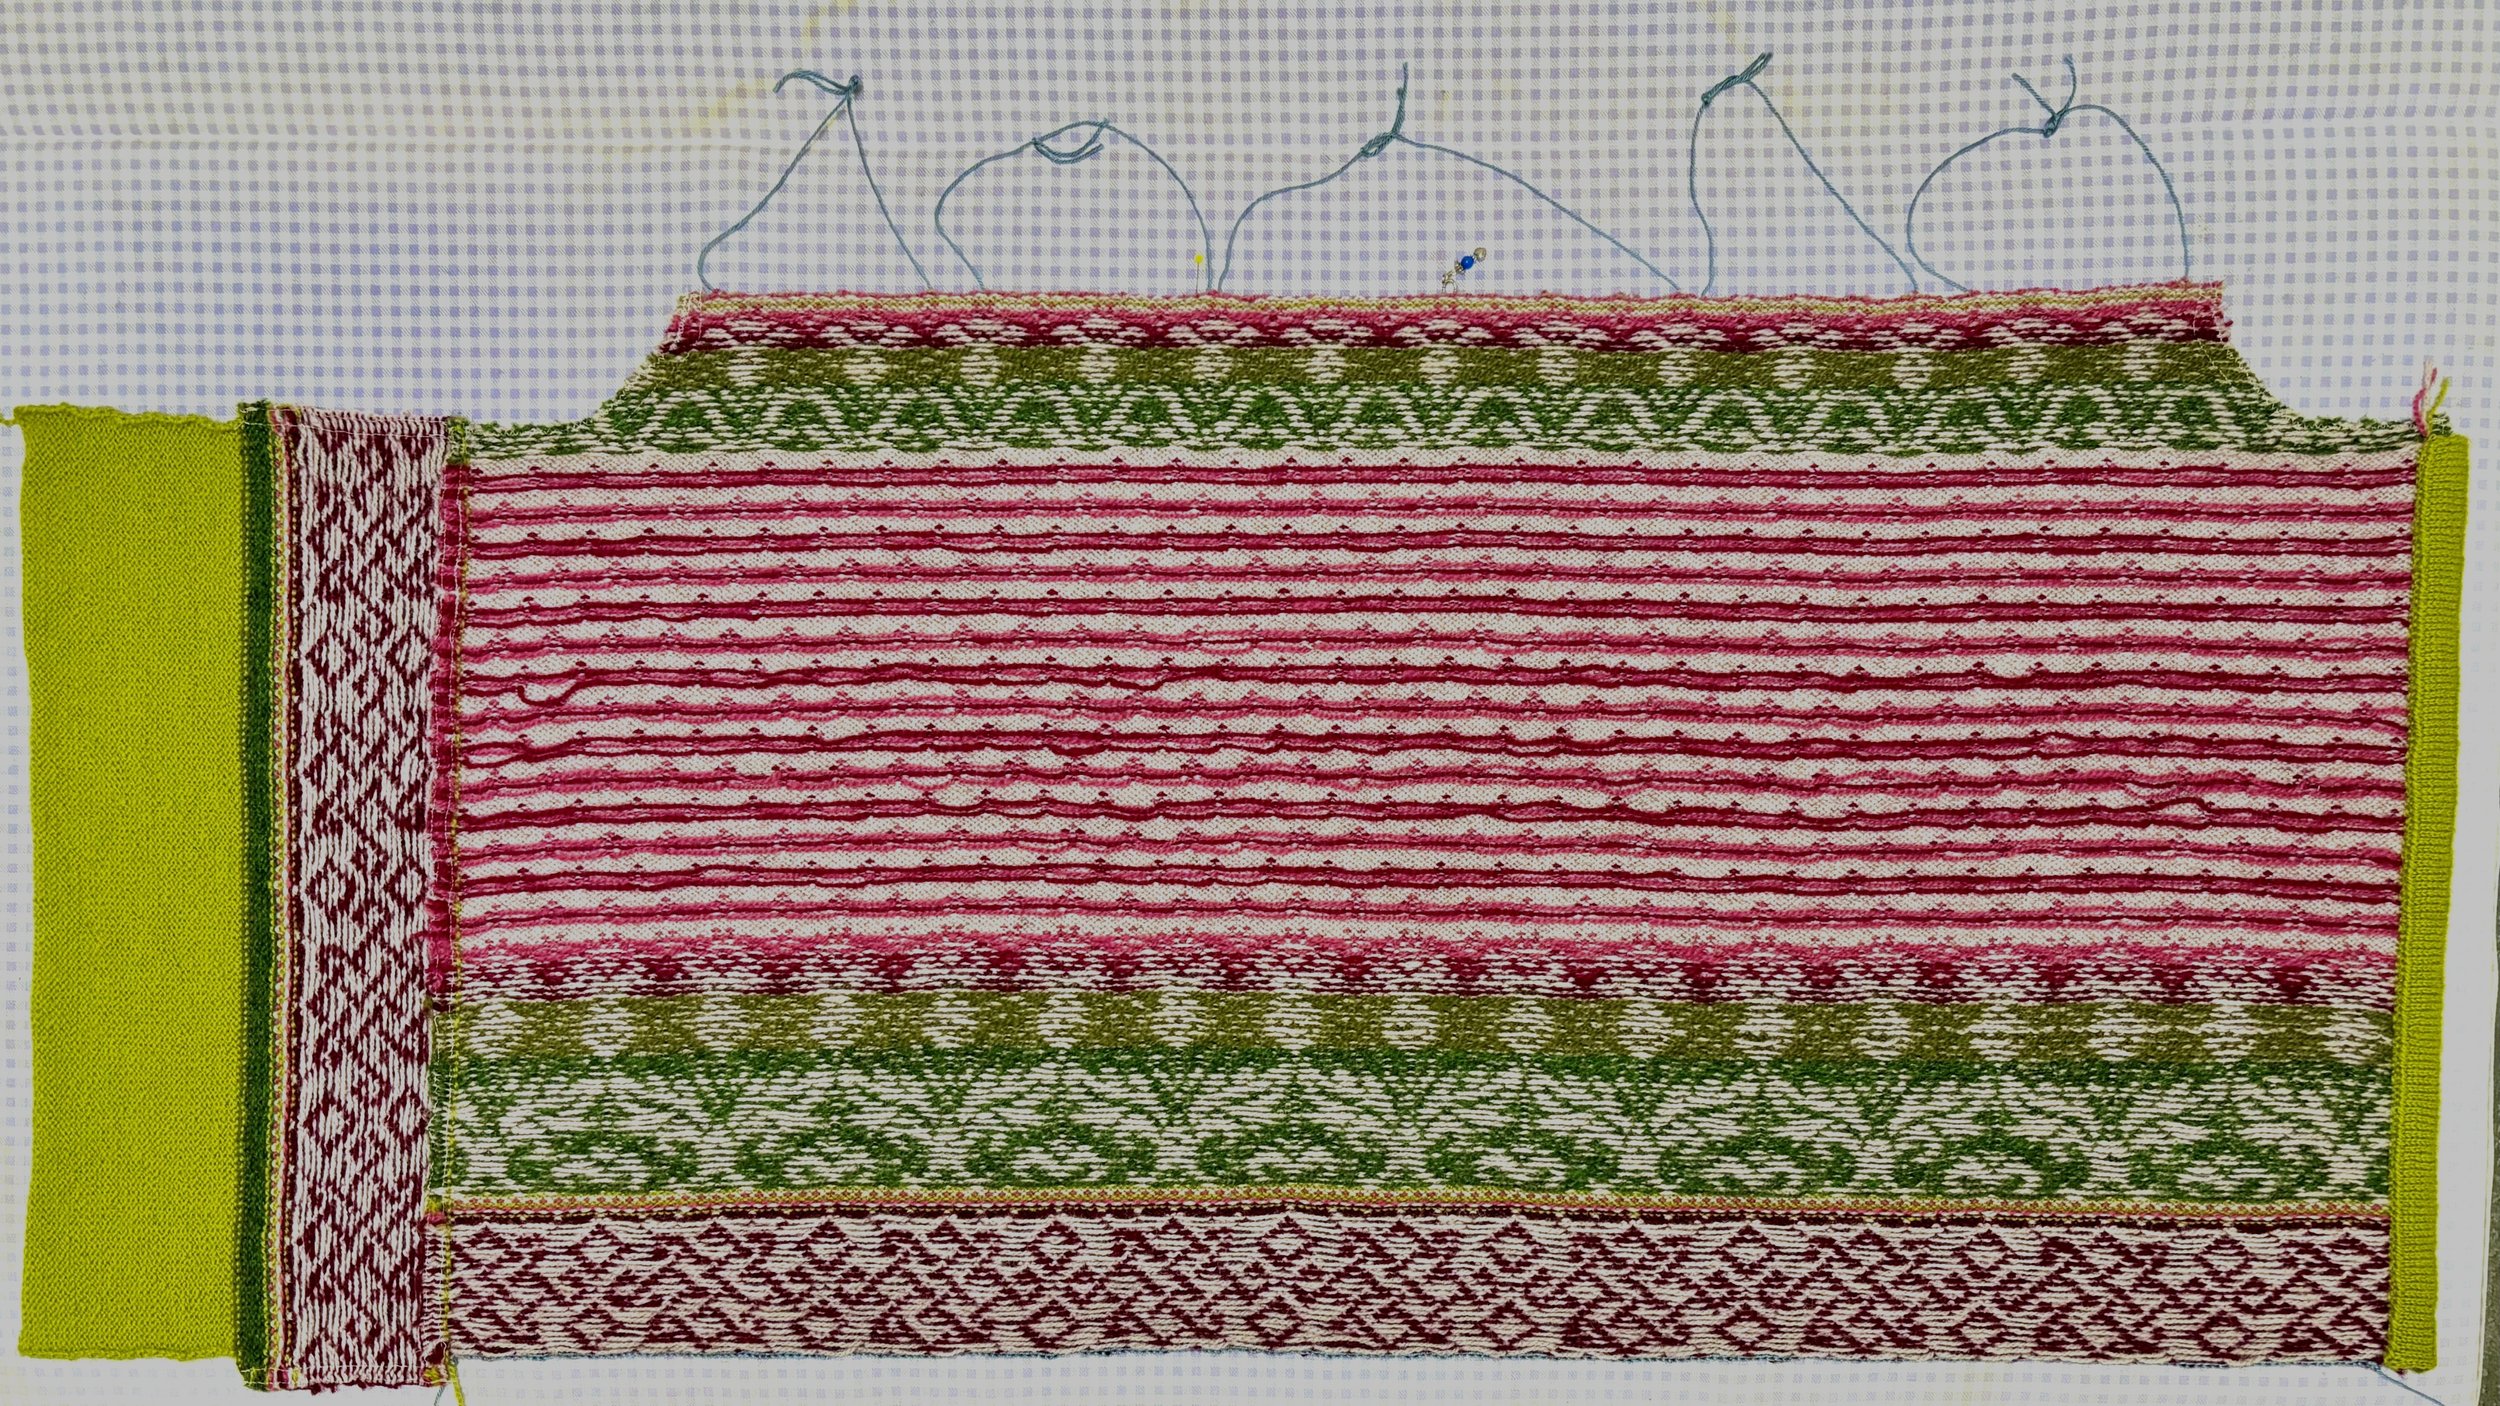
From there it was clear to see I needed an equally-wide facing to cover the vertical steek. Leaving the work joined on my circular needle, I switched to knitting back and forth to work the facing because I didn’t want any extra bulk to deal with in finishing.

I mean, do you not?
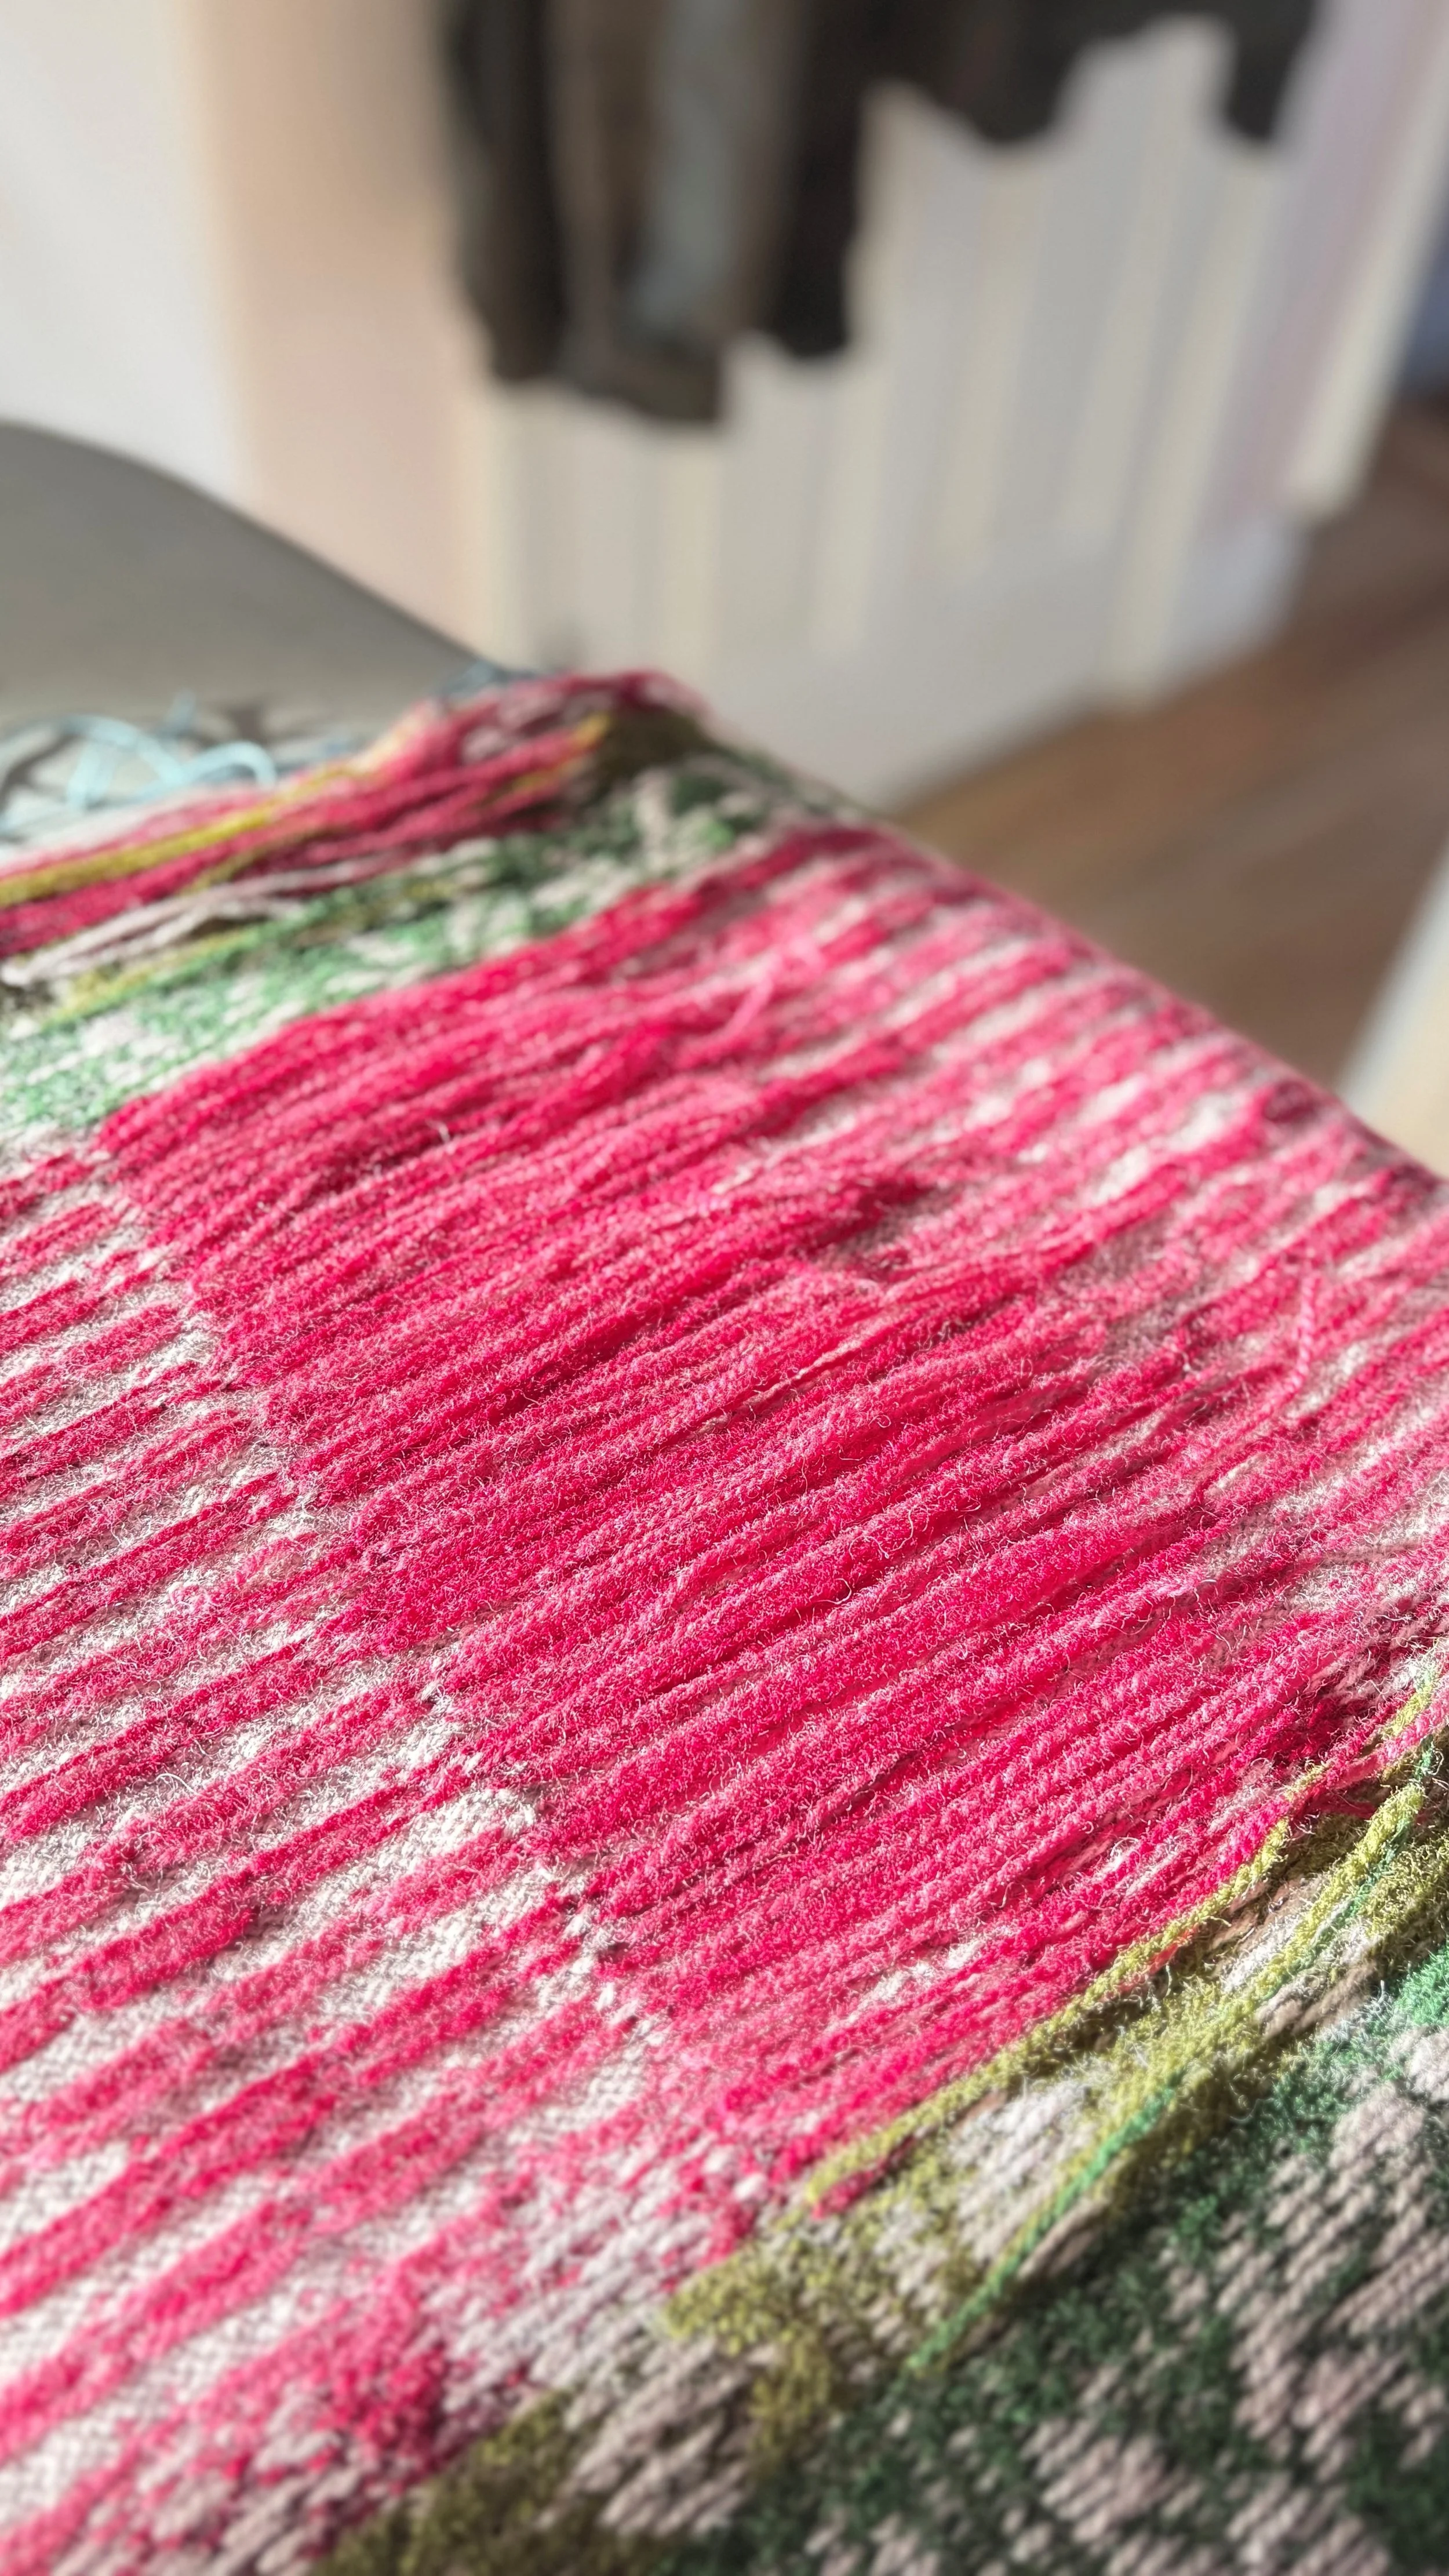
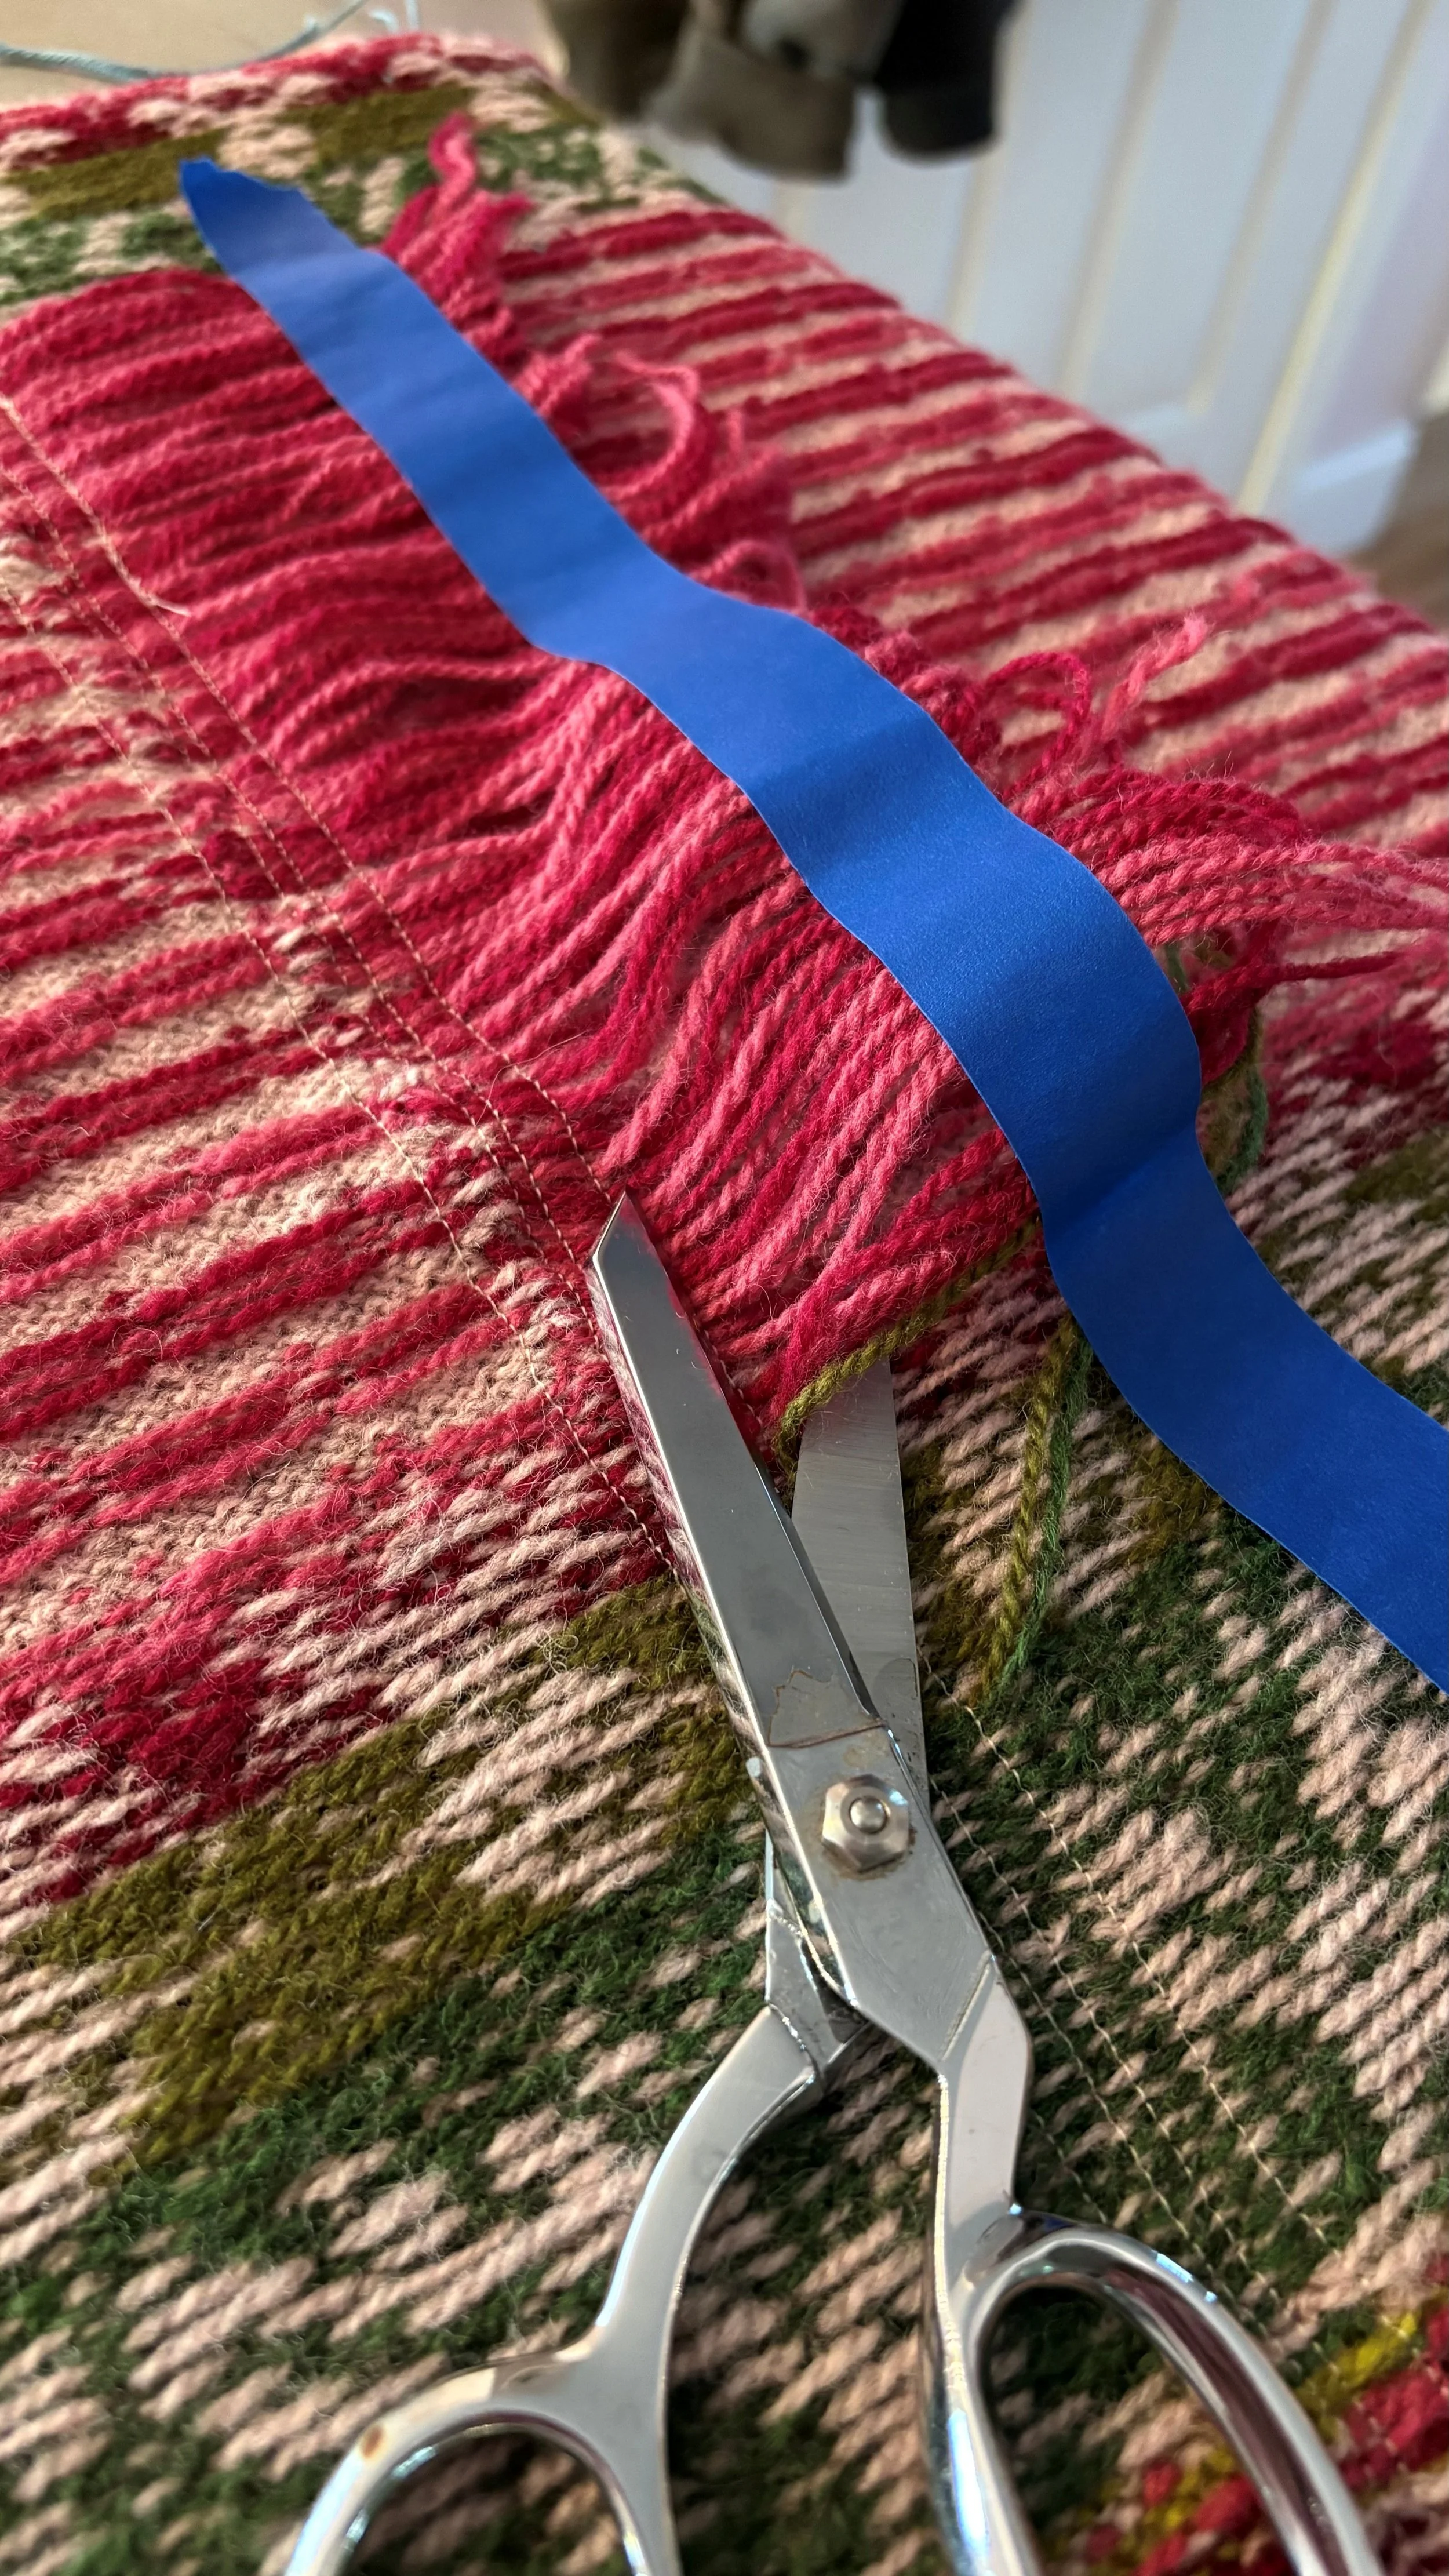
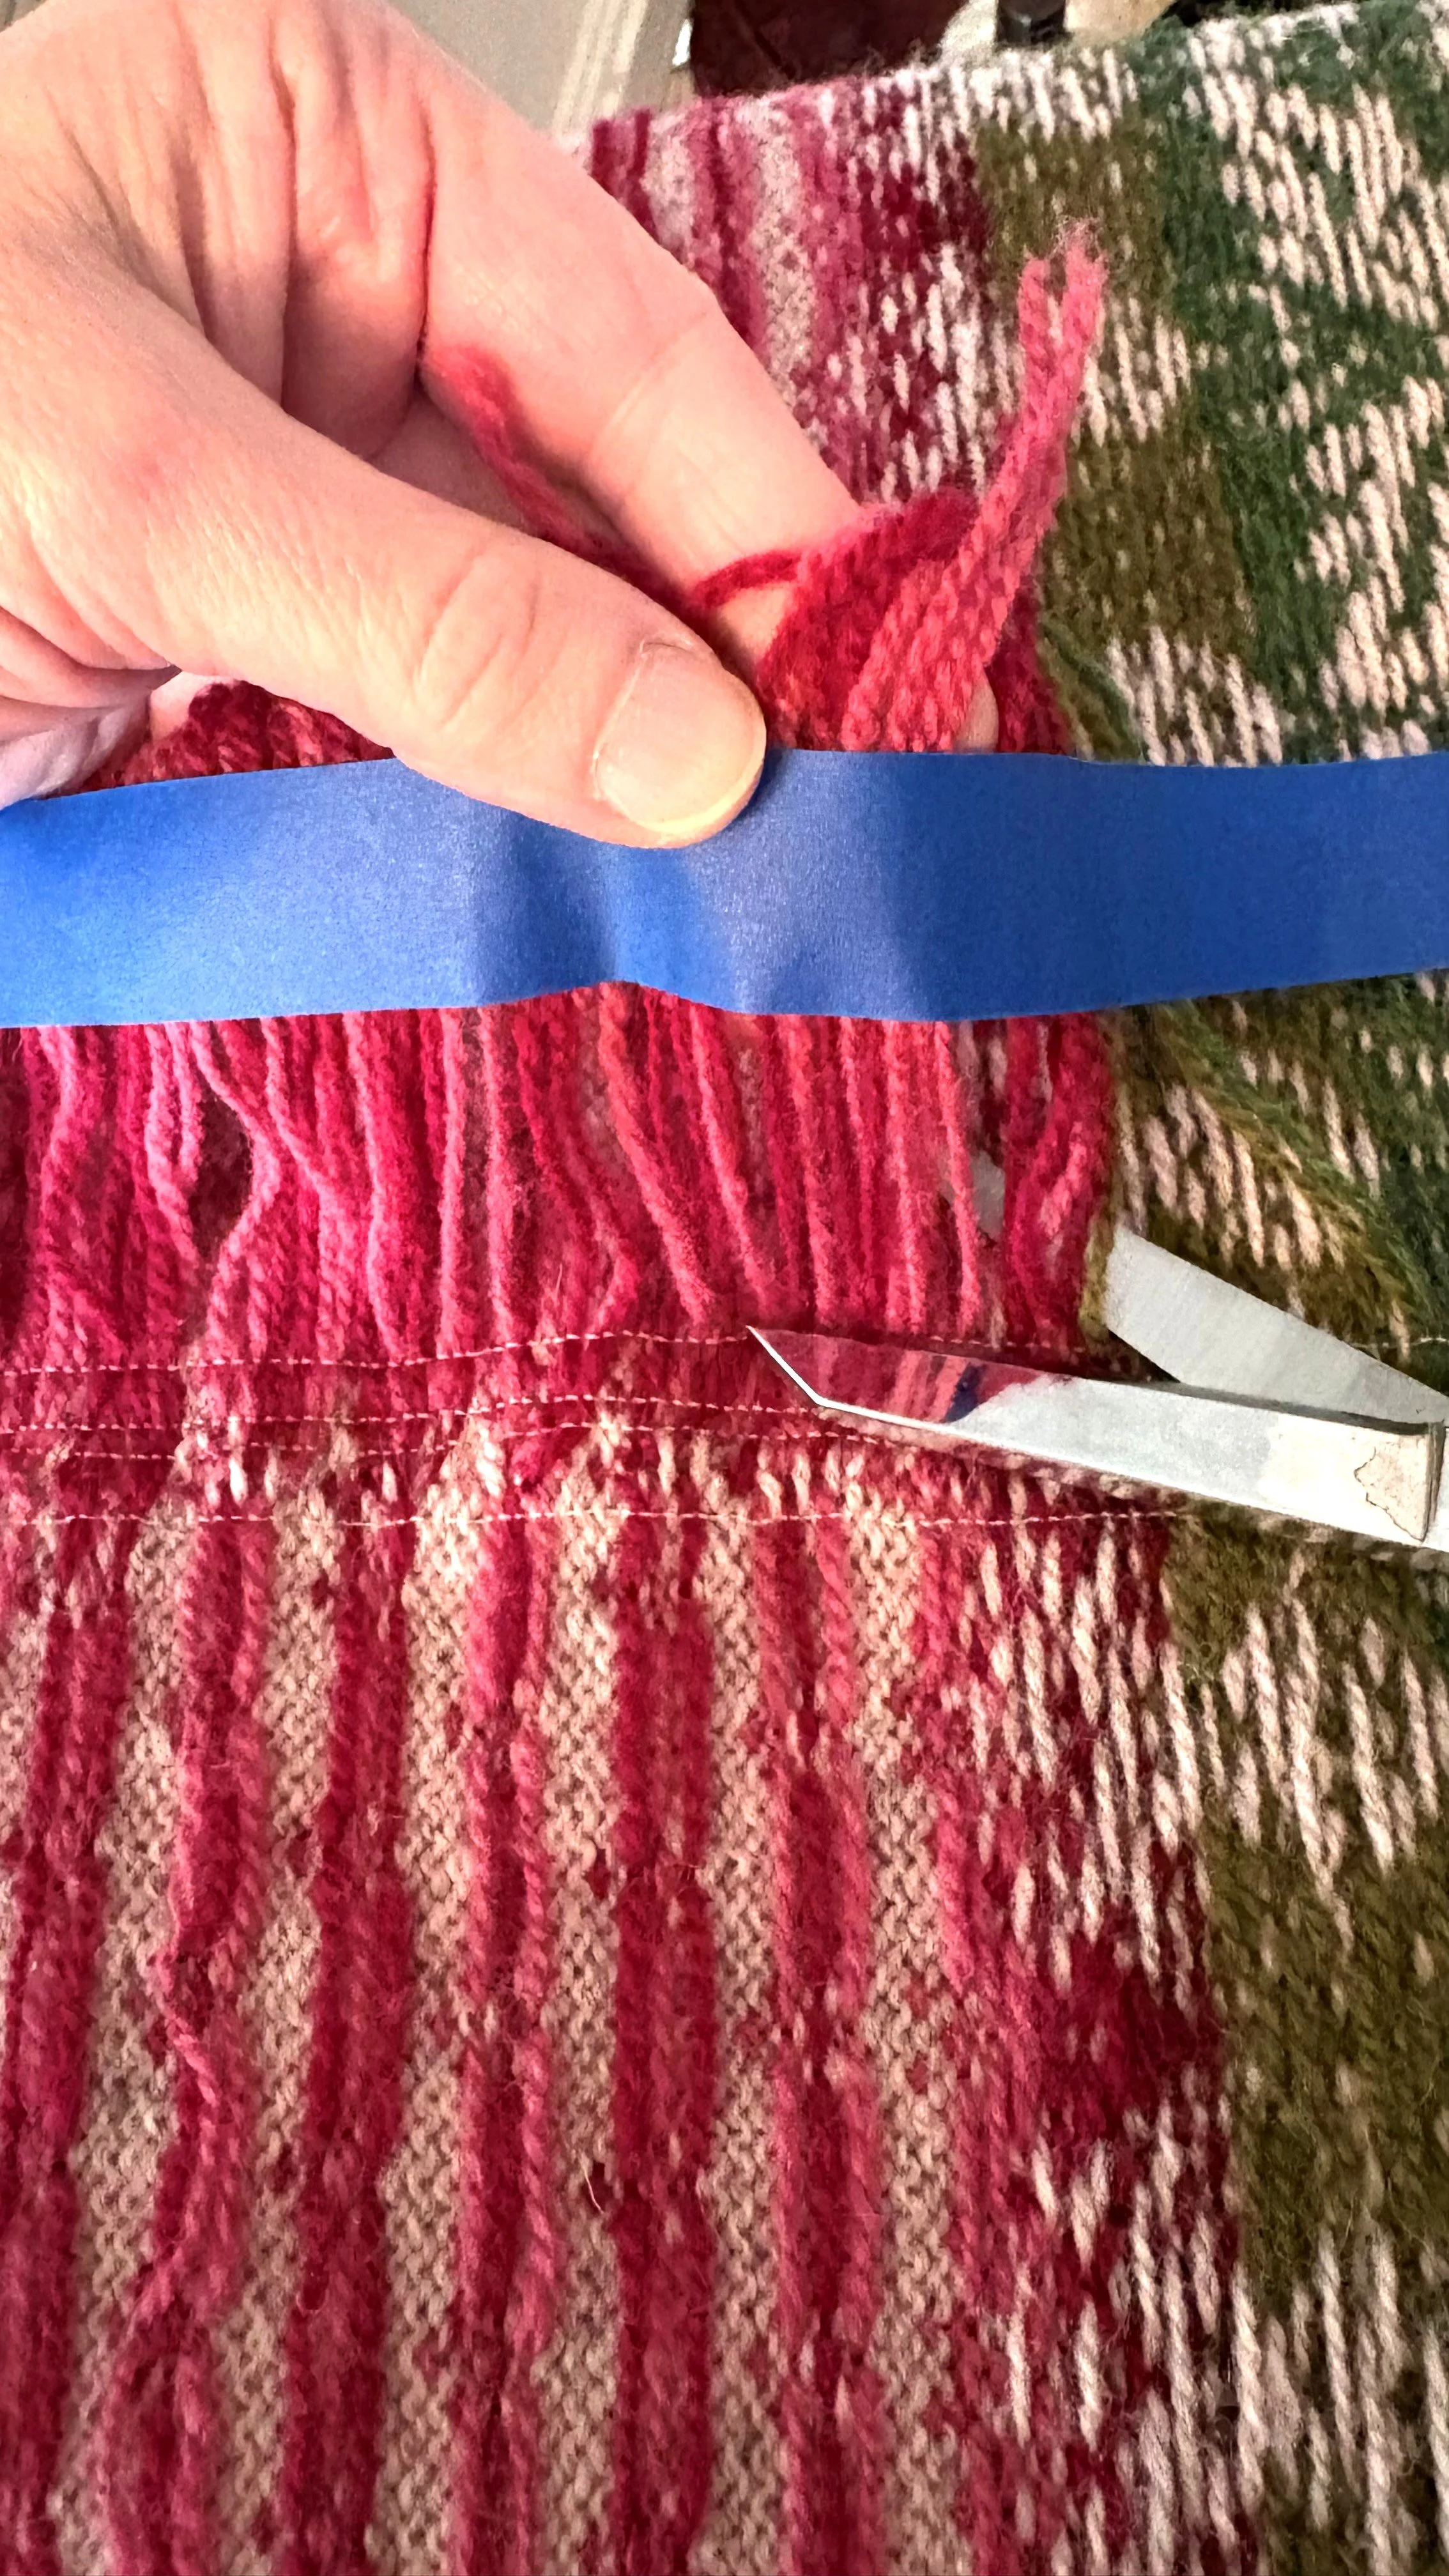
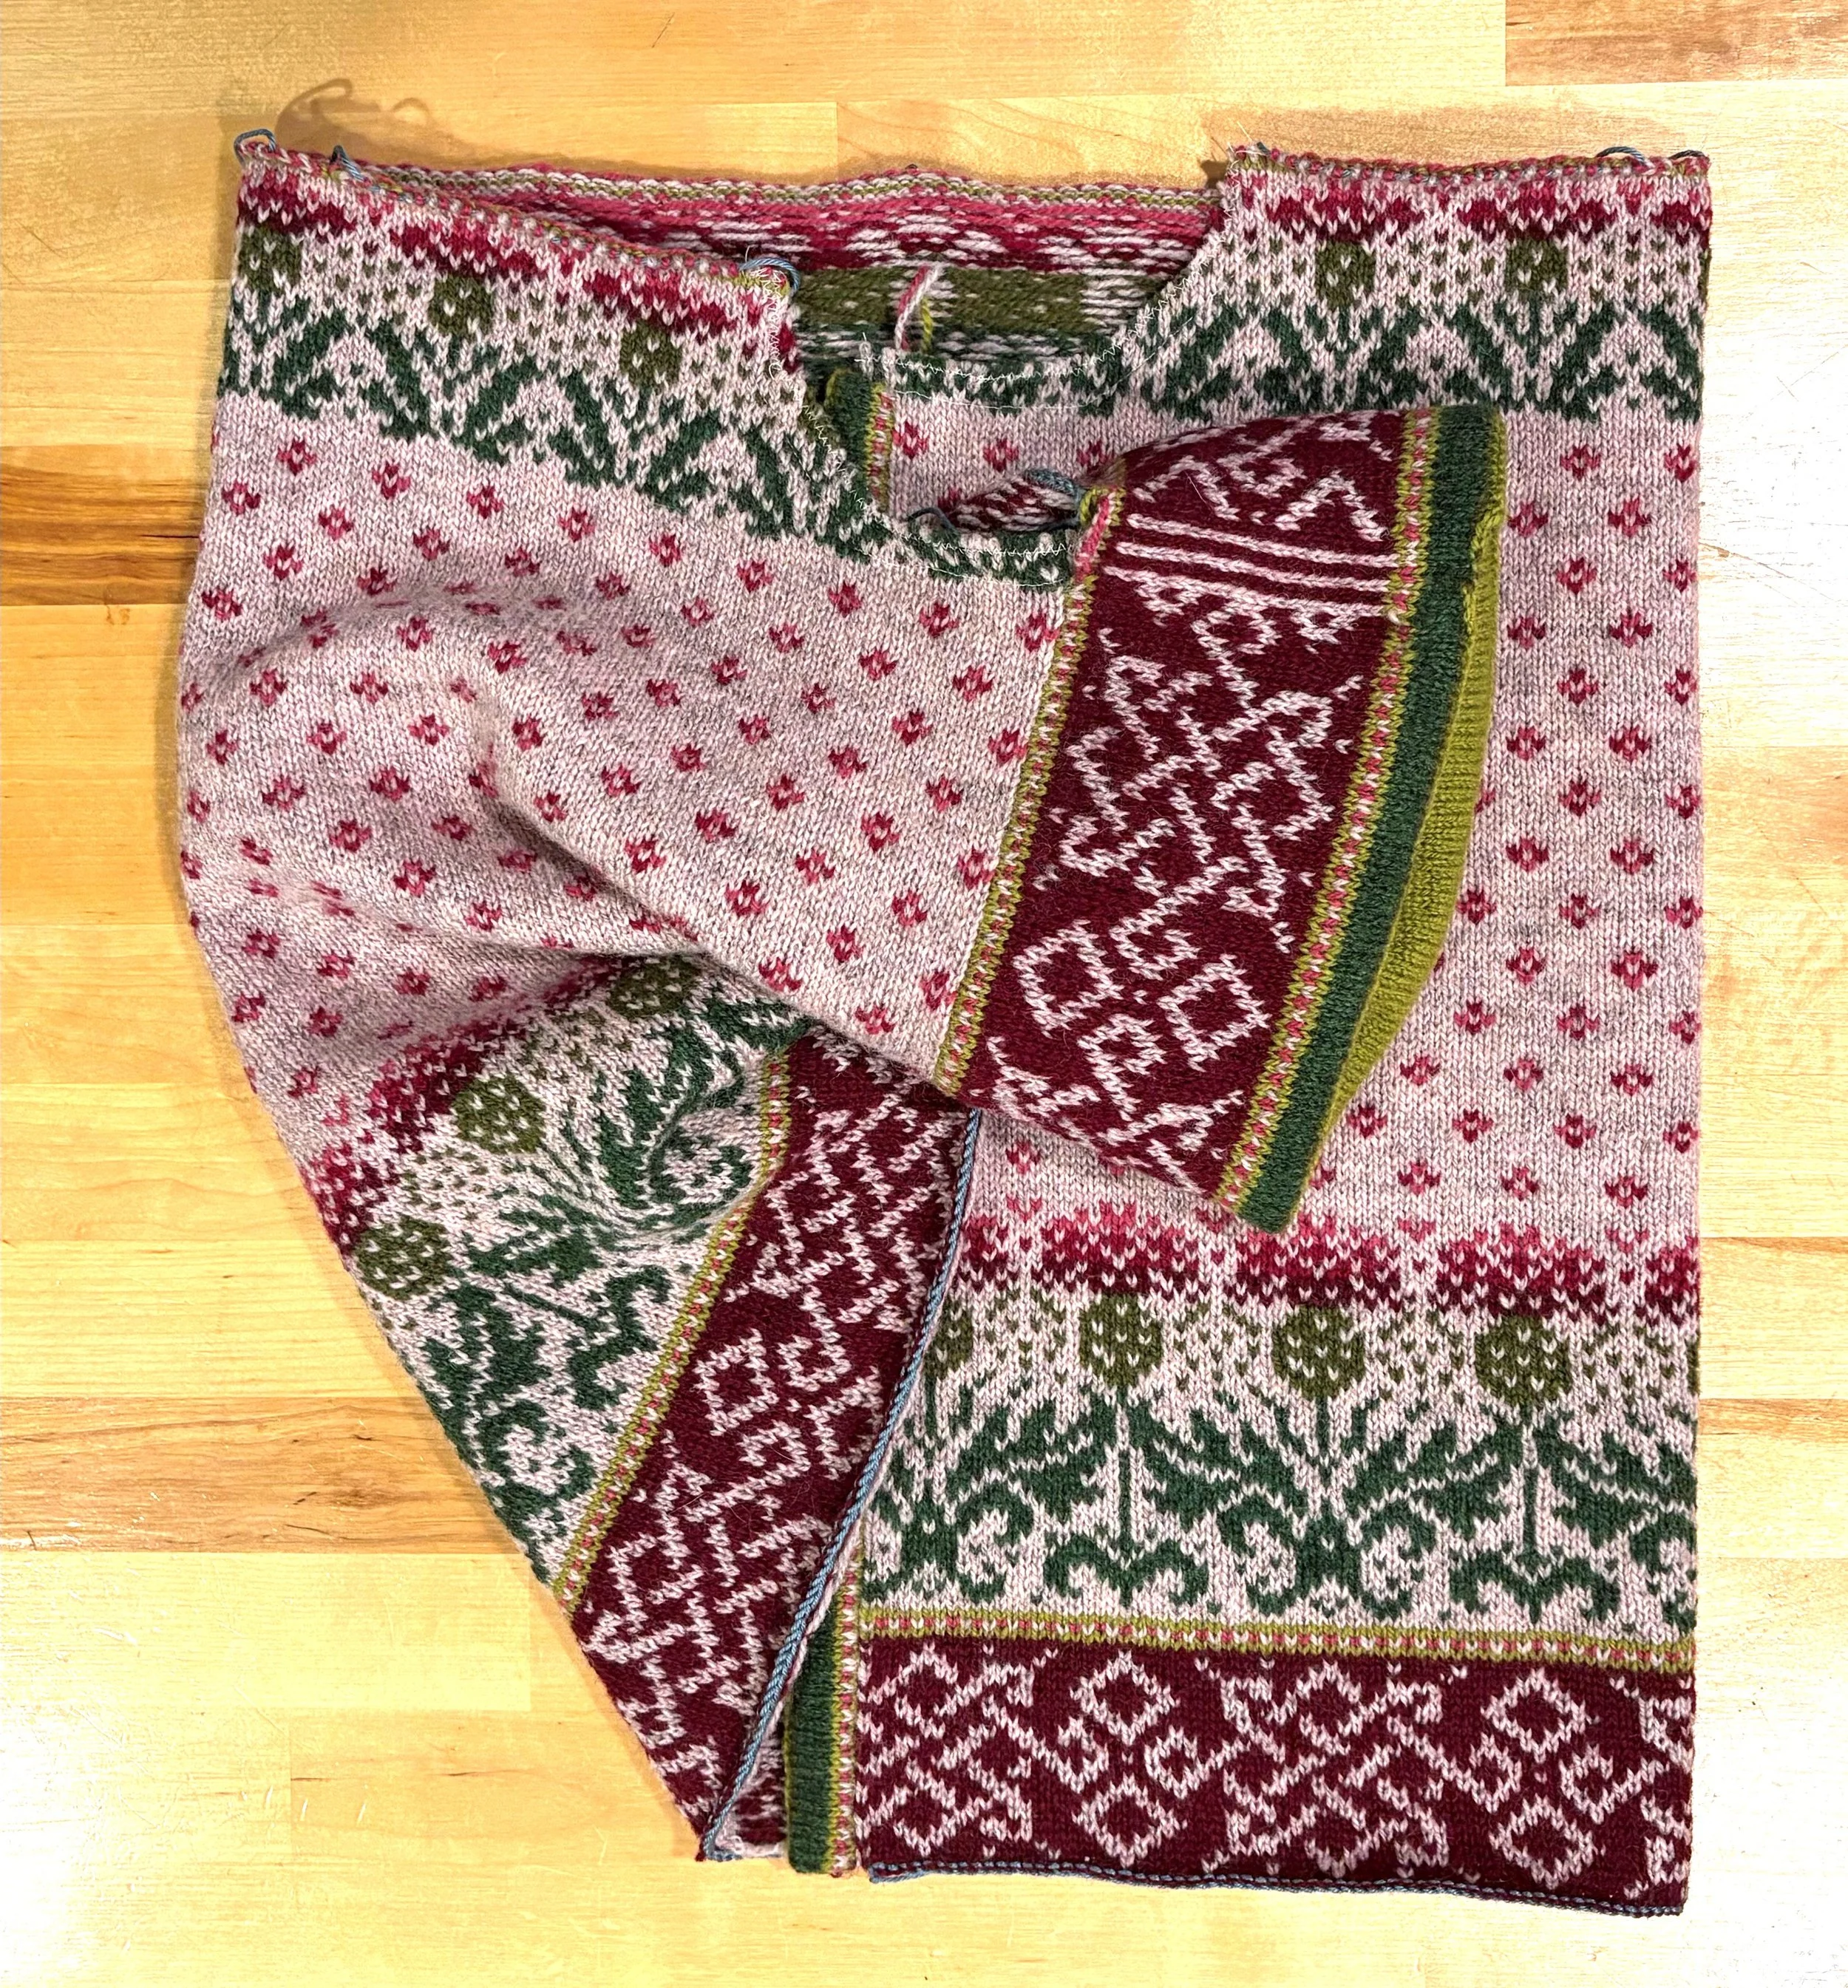
Maybe this view of the operation will help: Once I cut this little steek, the front band will live free, as intended.
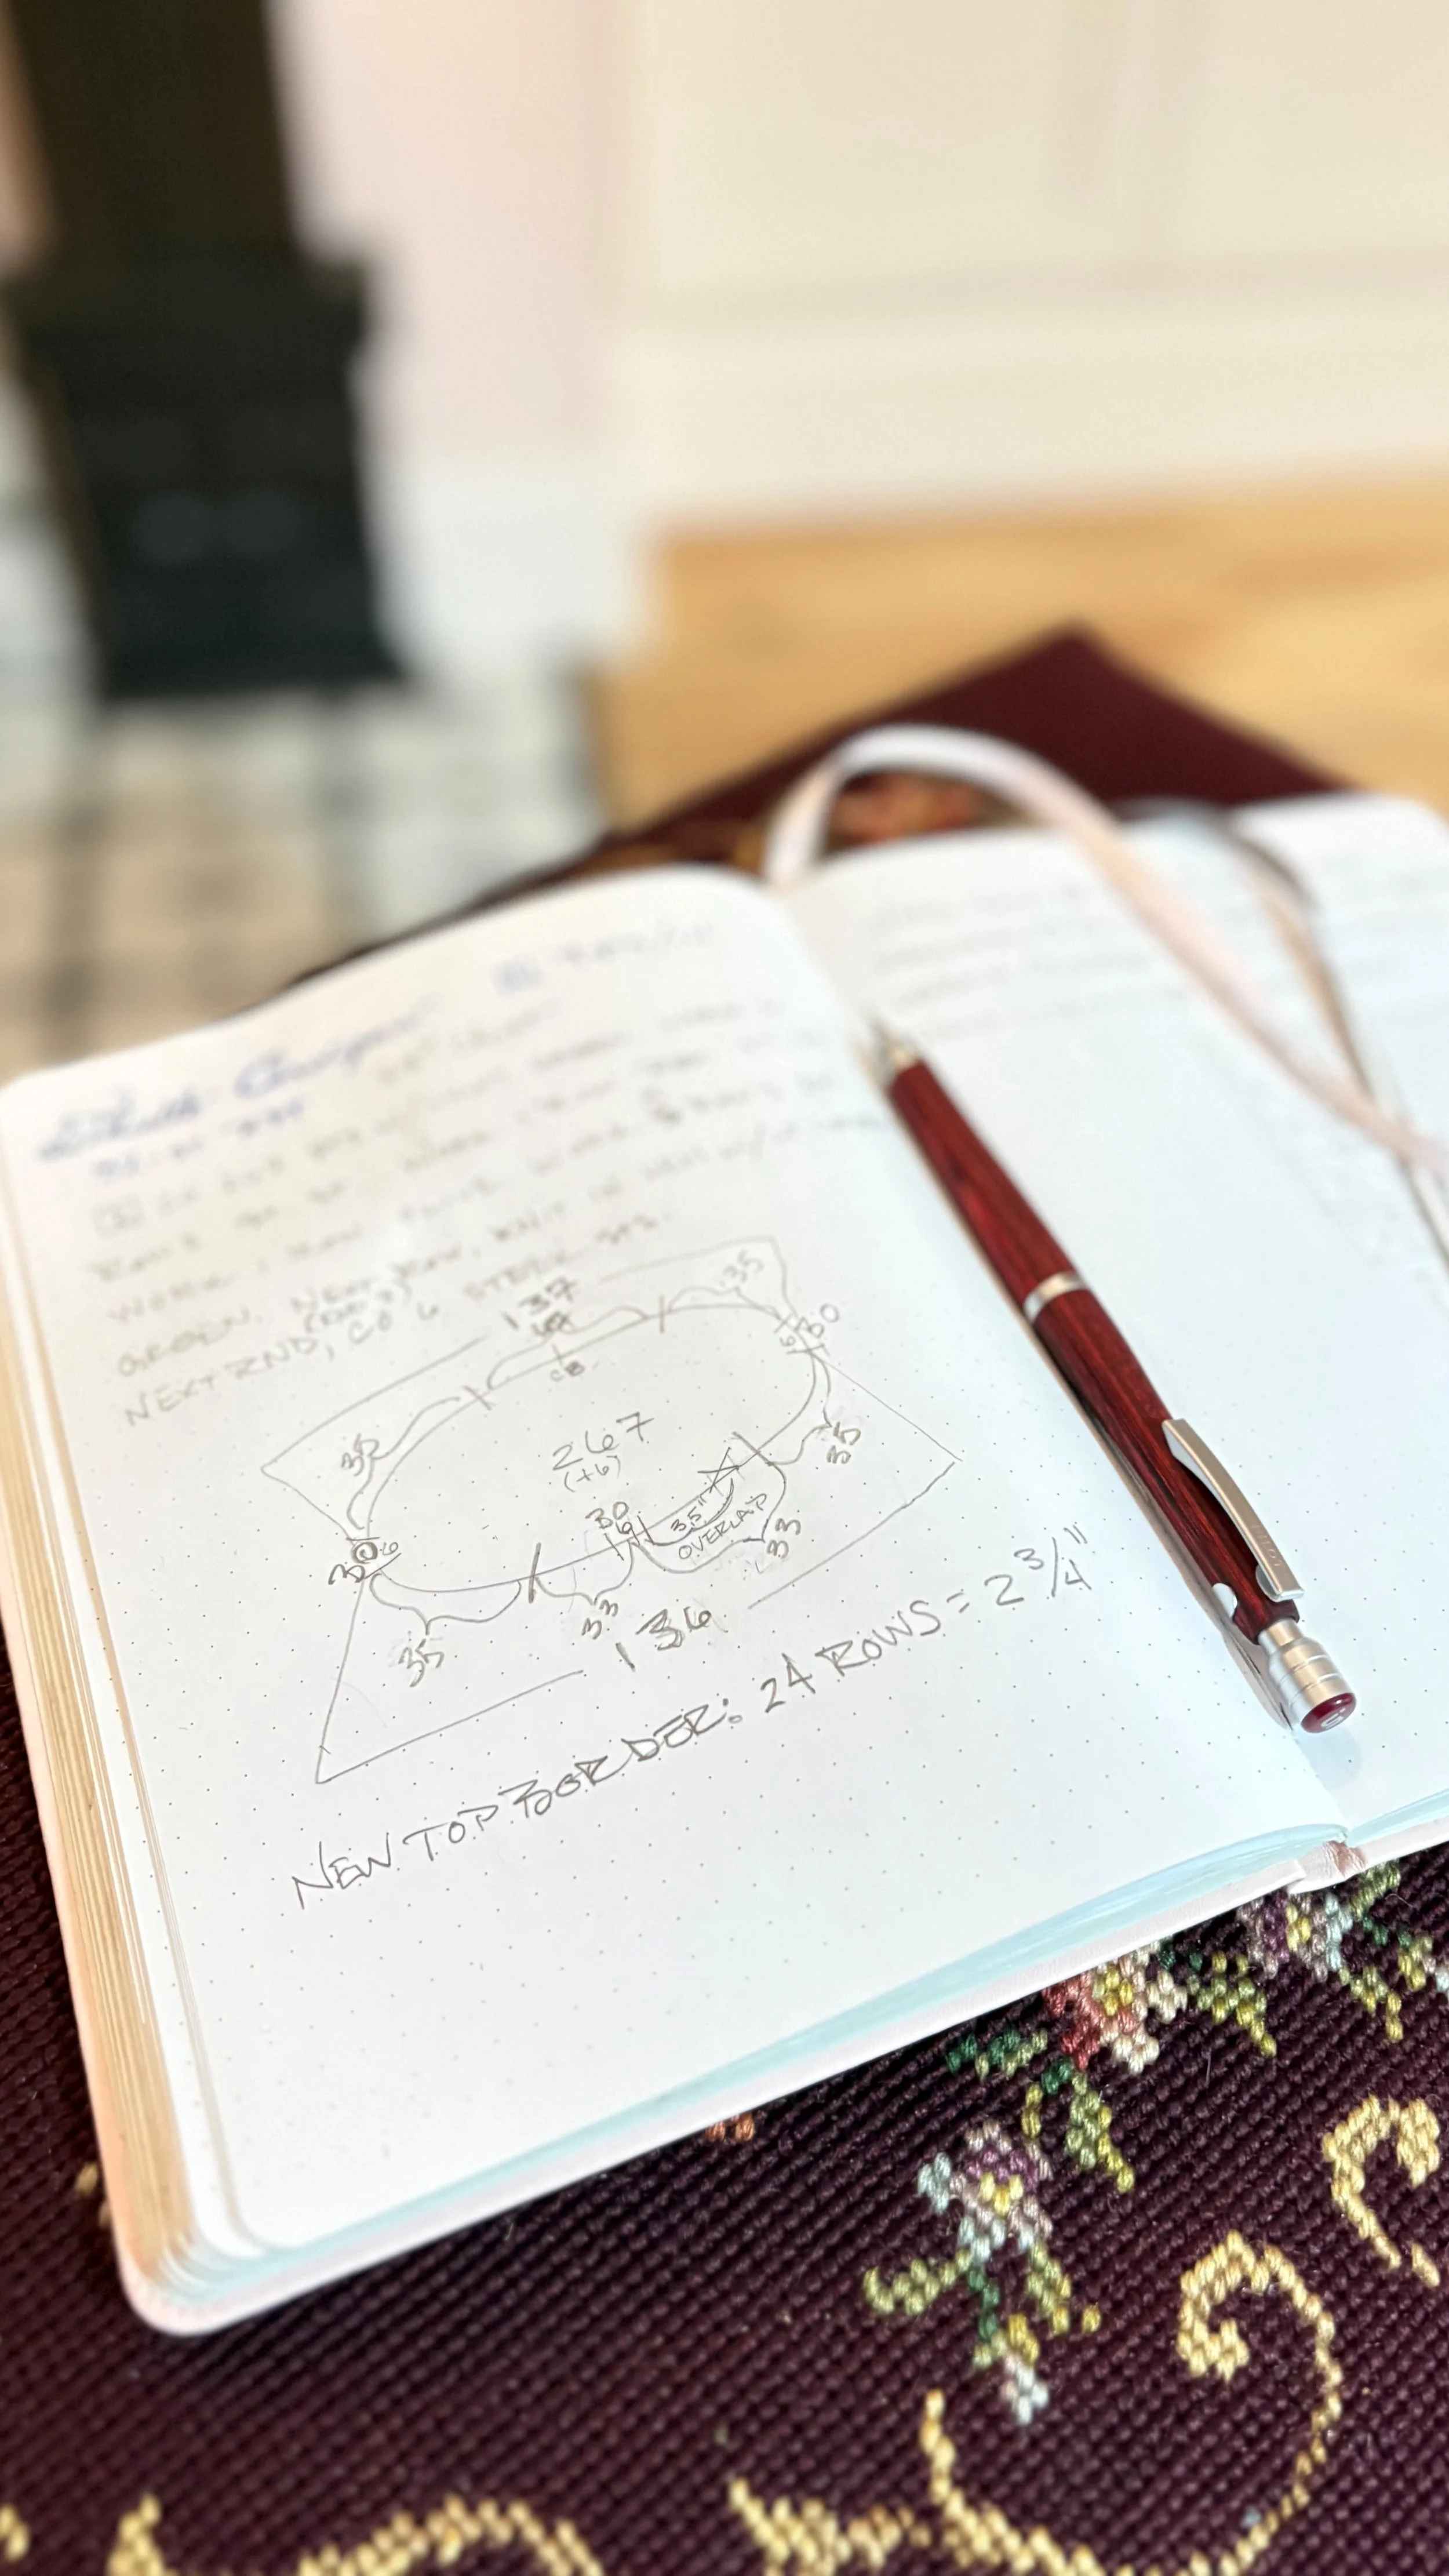
Front band steek, ready for thrill-seeking behavior
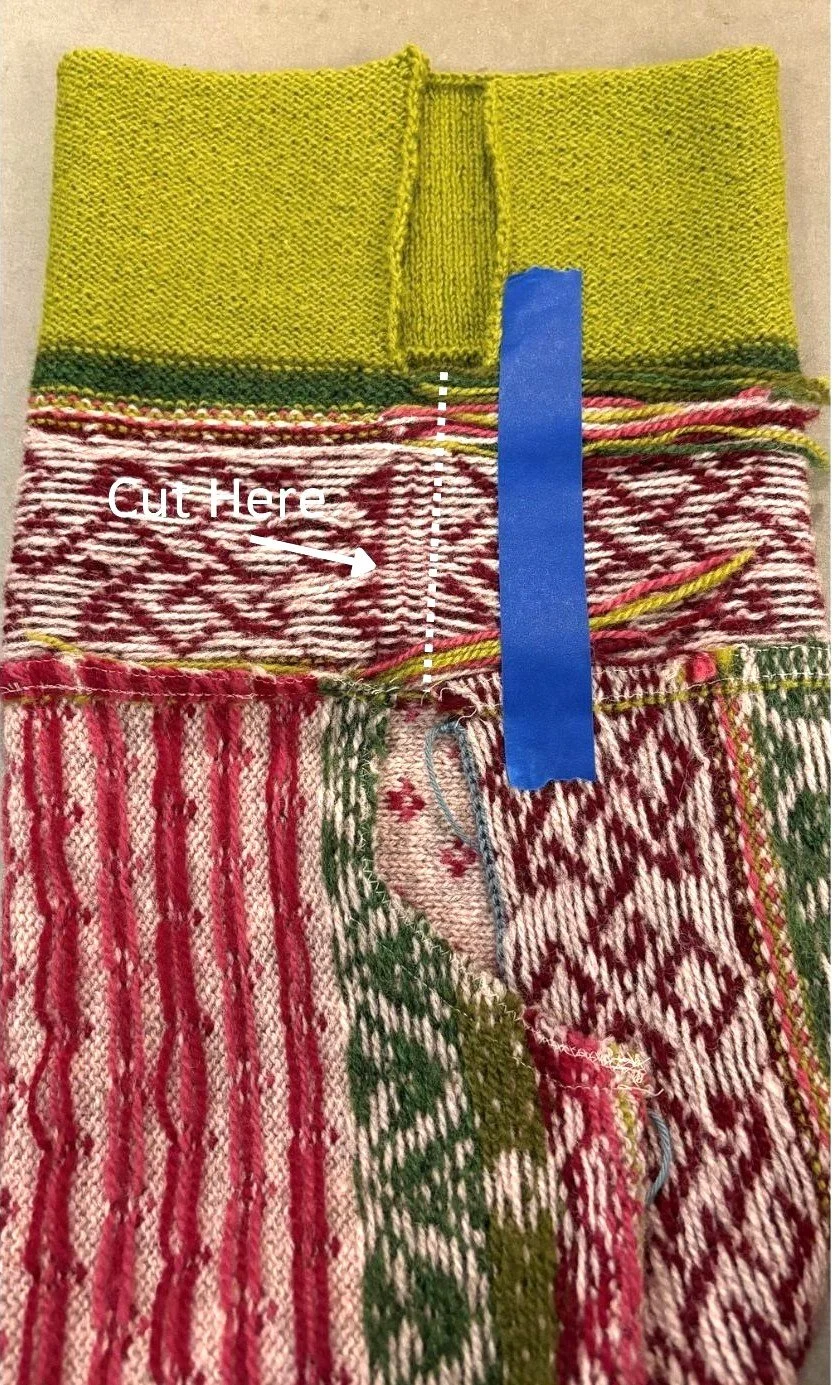
Secure , snip, block. Same thing we do every day.
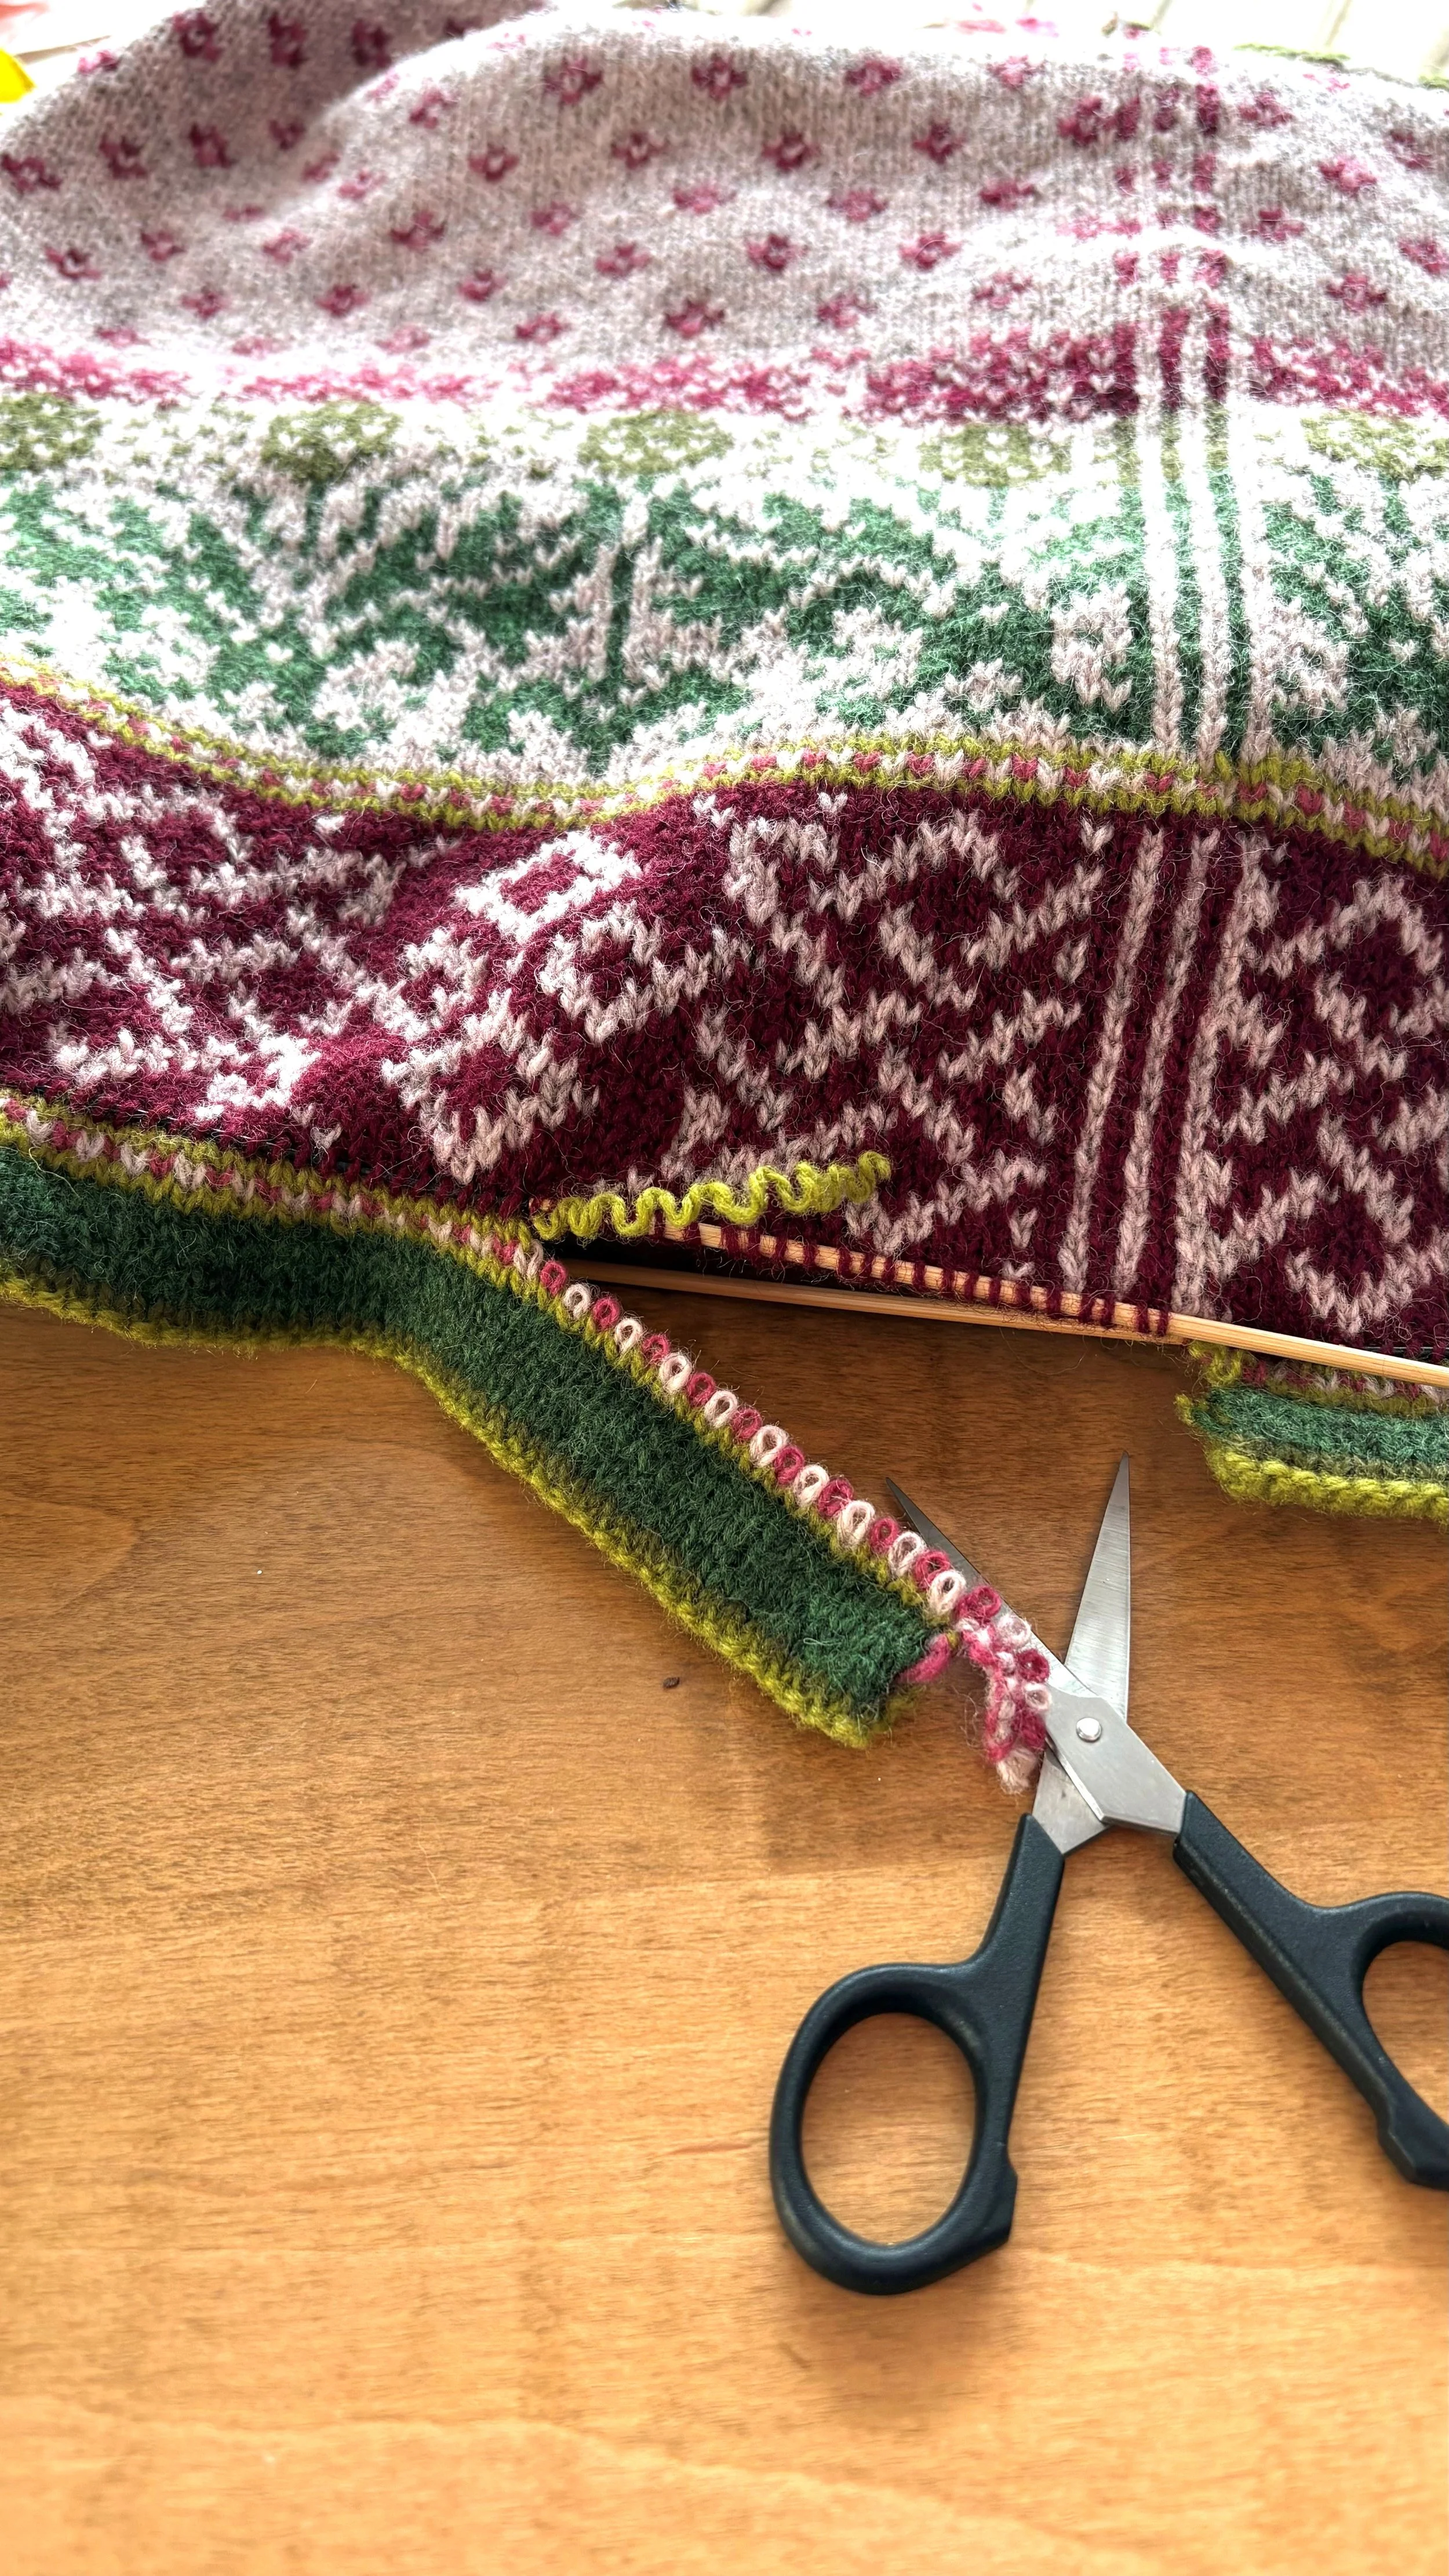
Et Voila
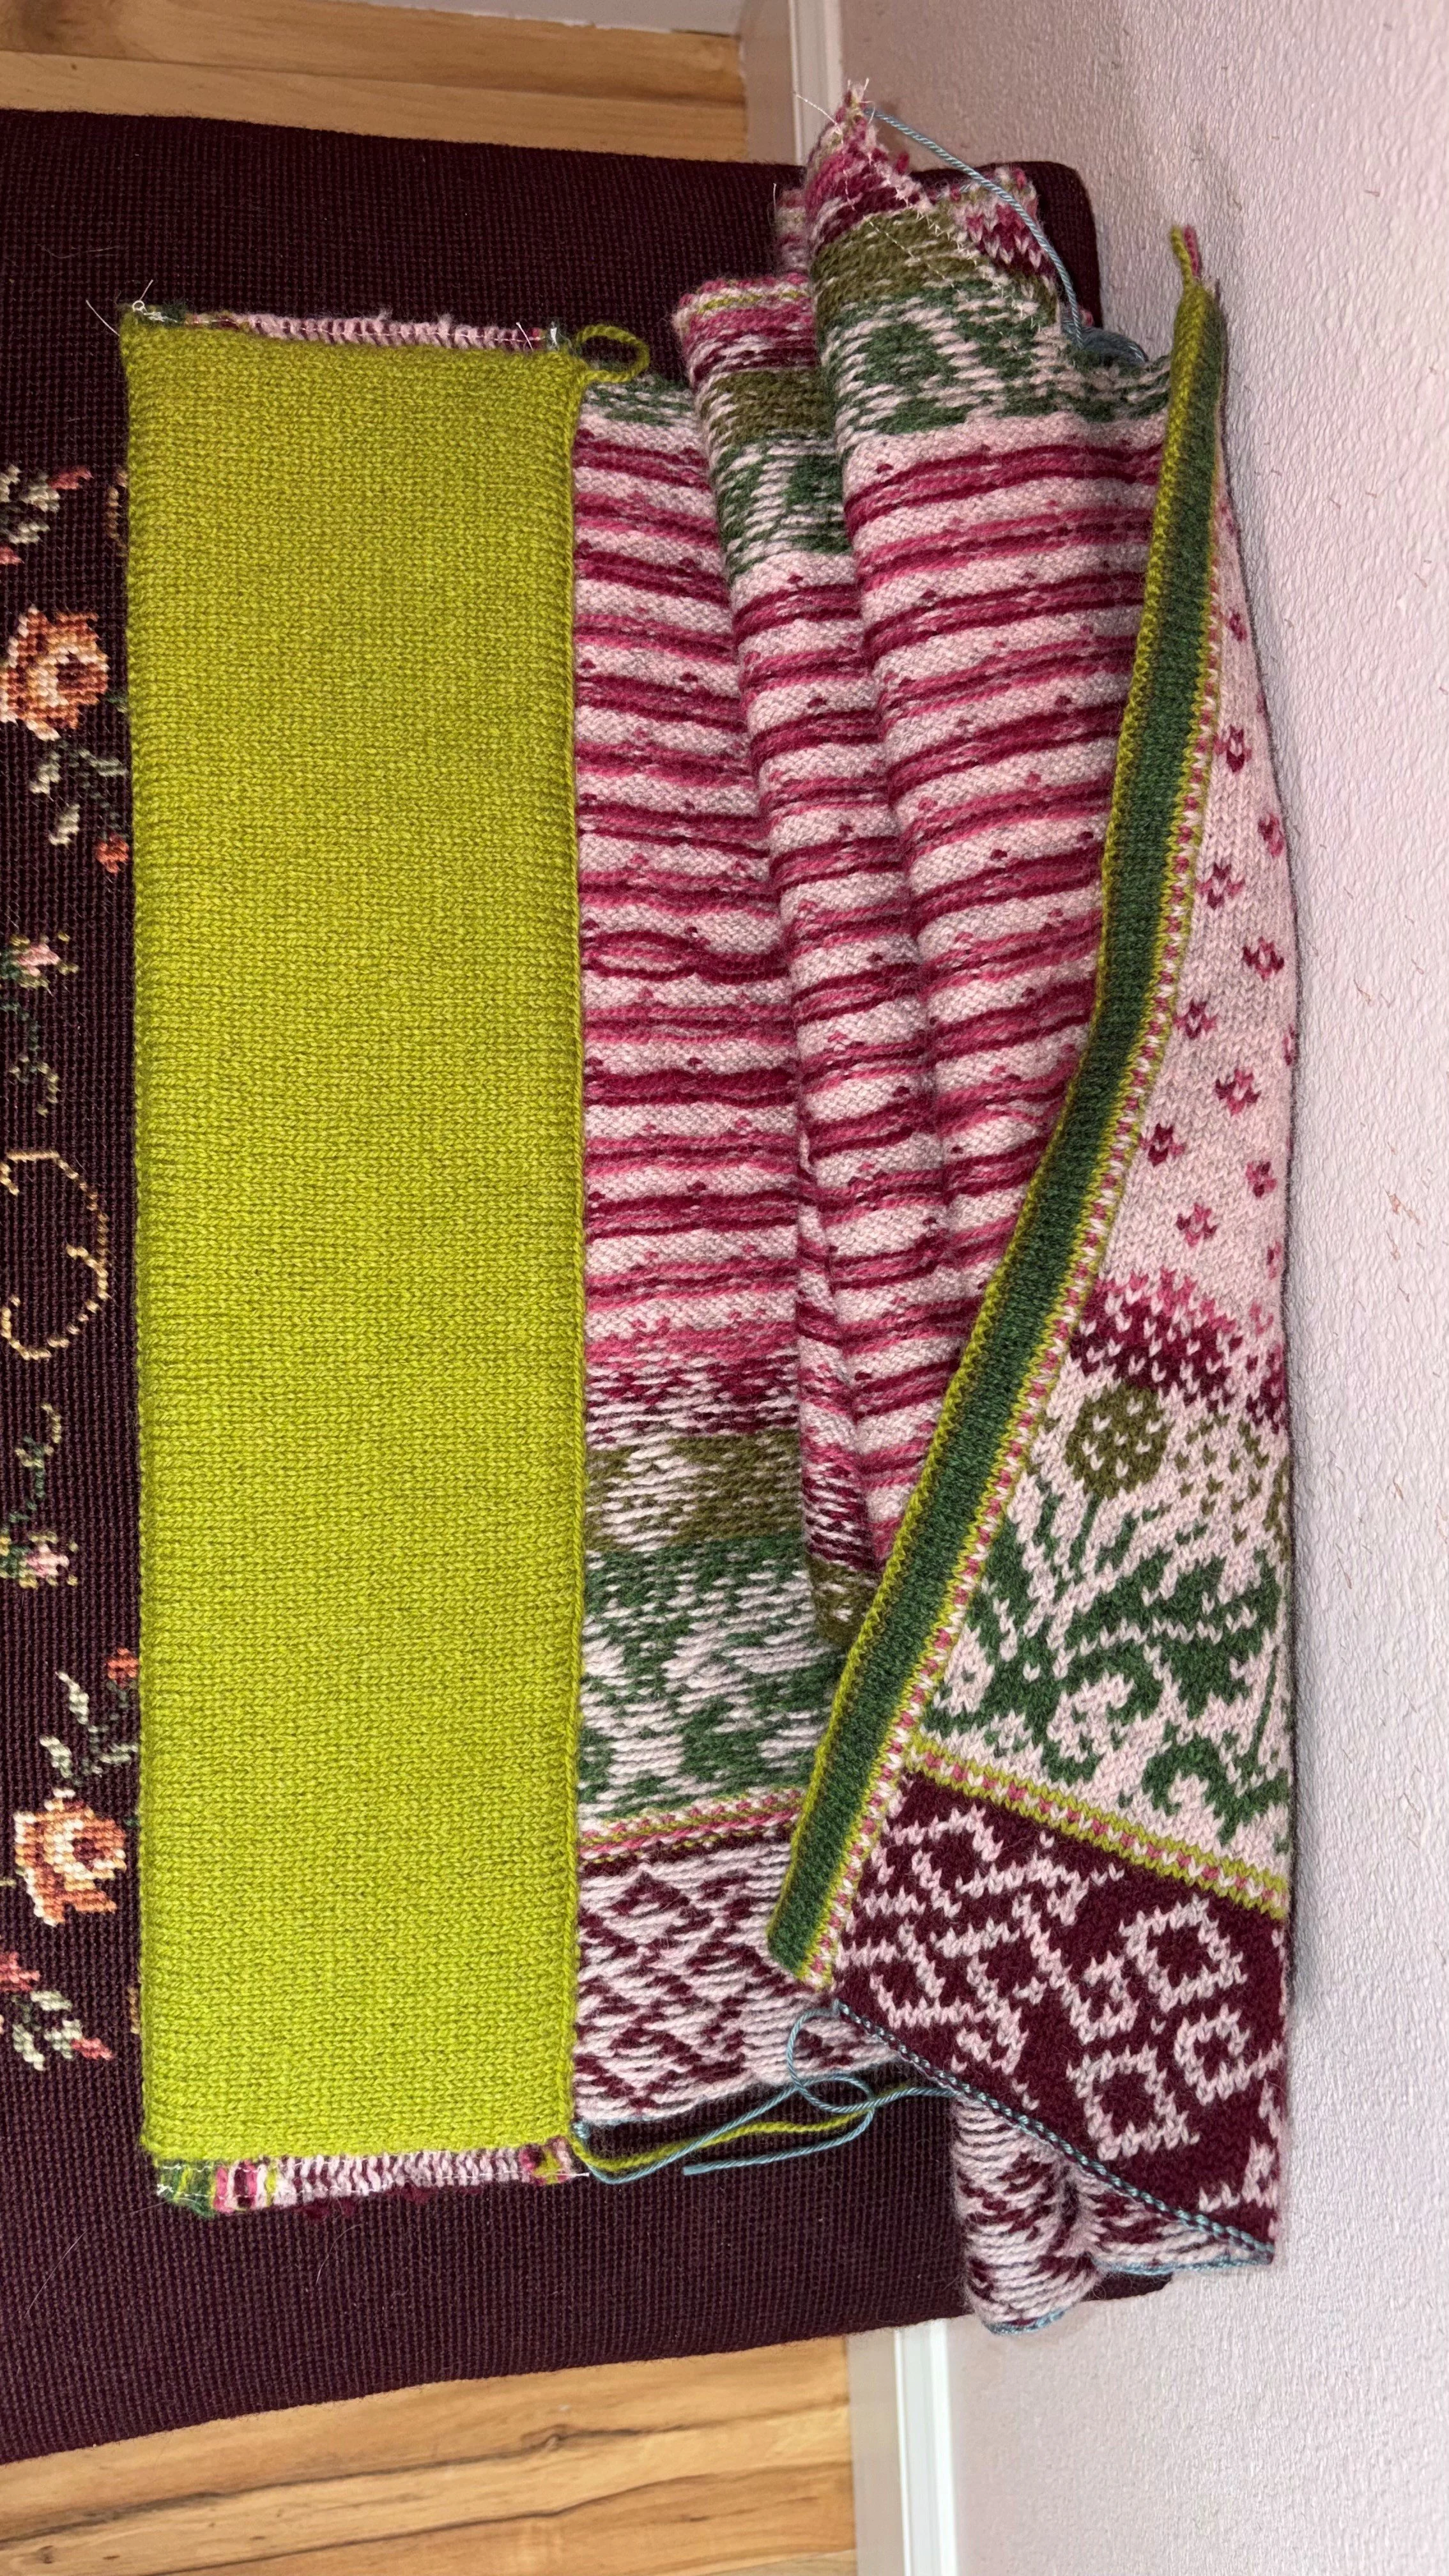
Flip the big ol’ facing to the inside and work a little tailoring magic
This is where the Thistle goes from a flat piece of knitting to a 3D tailored garment. Fiddly? Possibly. Worth the fuss? 100%.
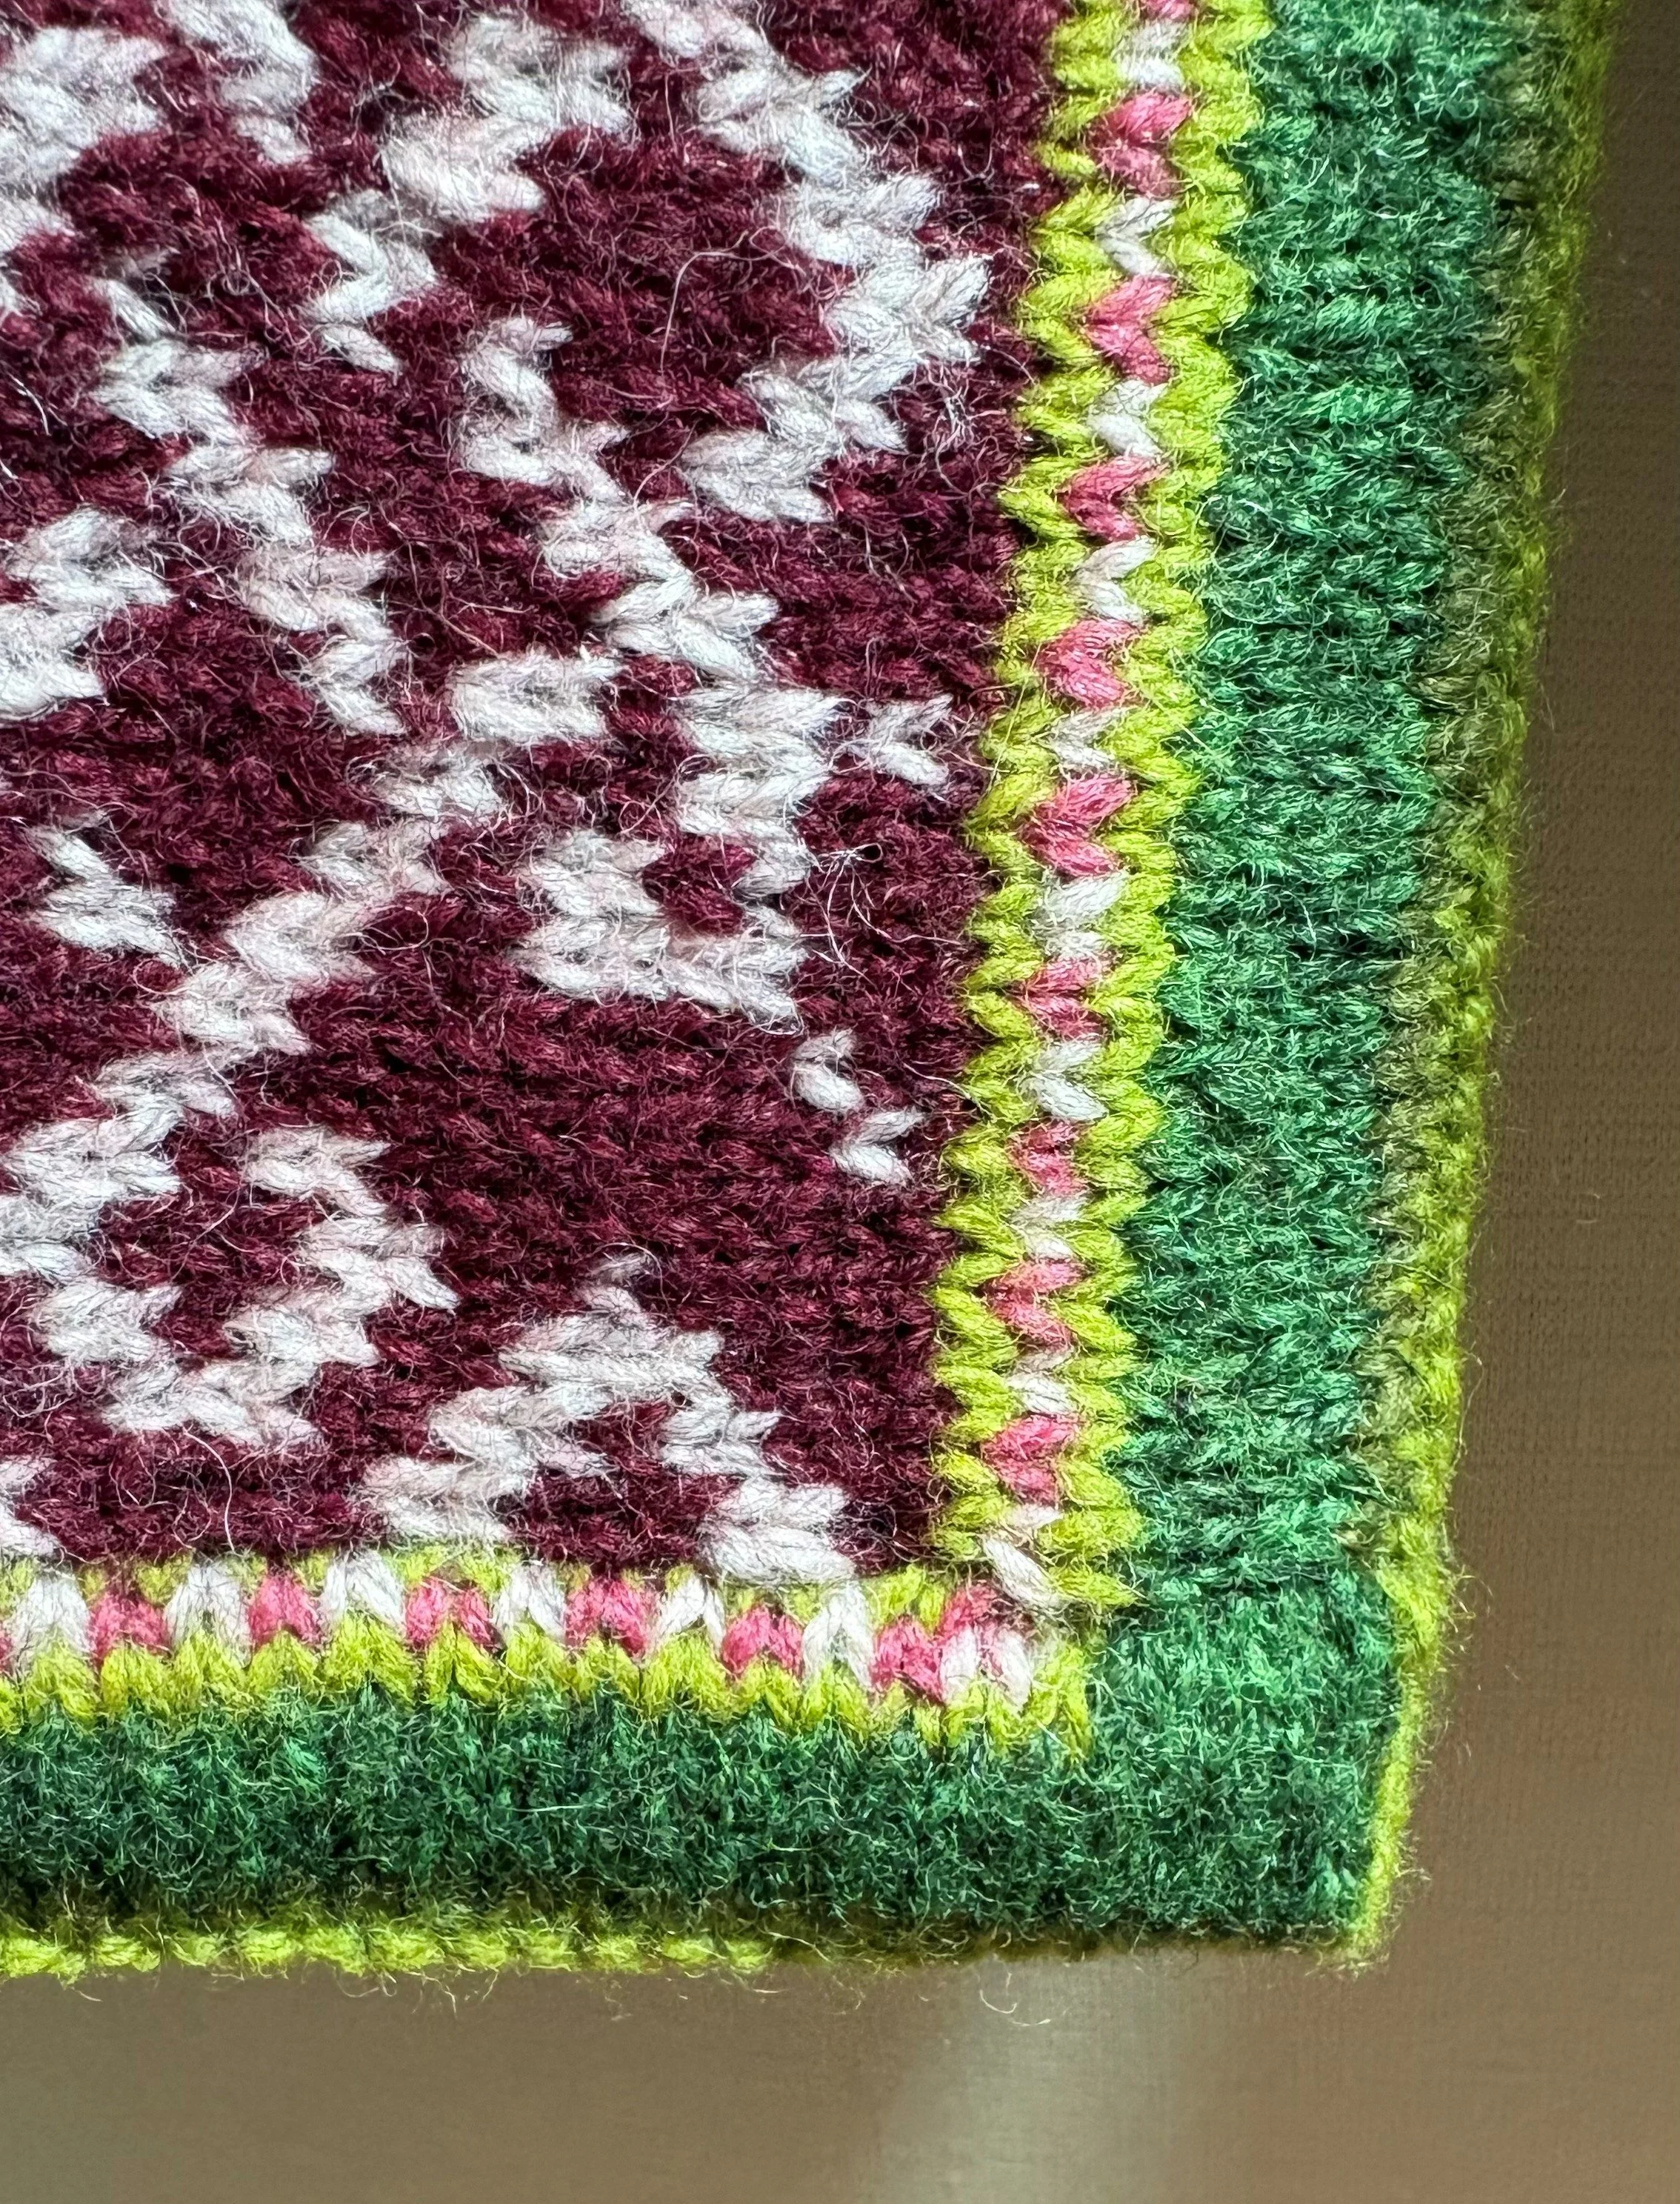
Okay, now I’m just showing off
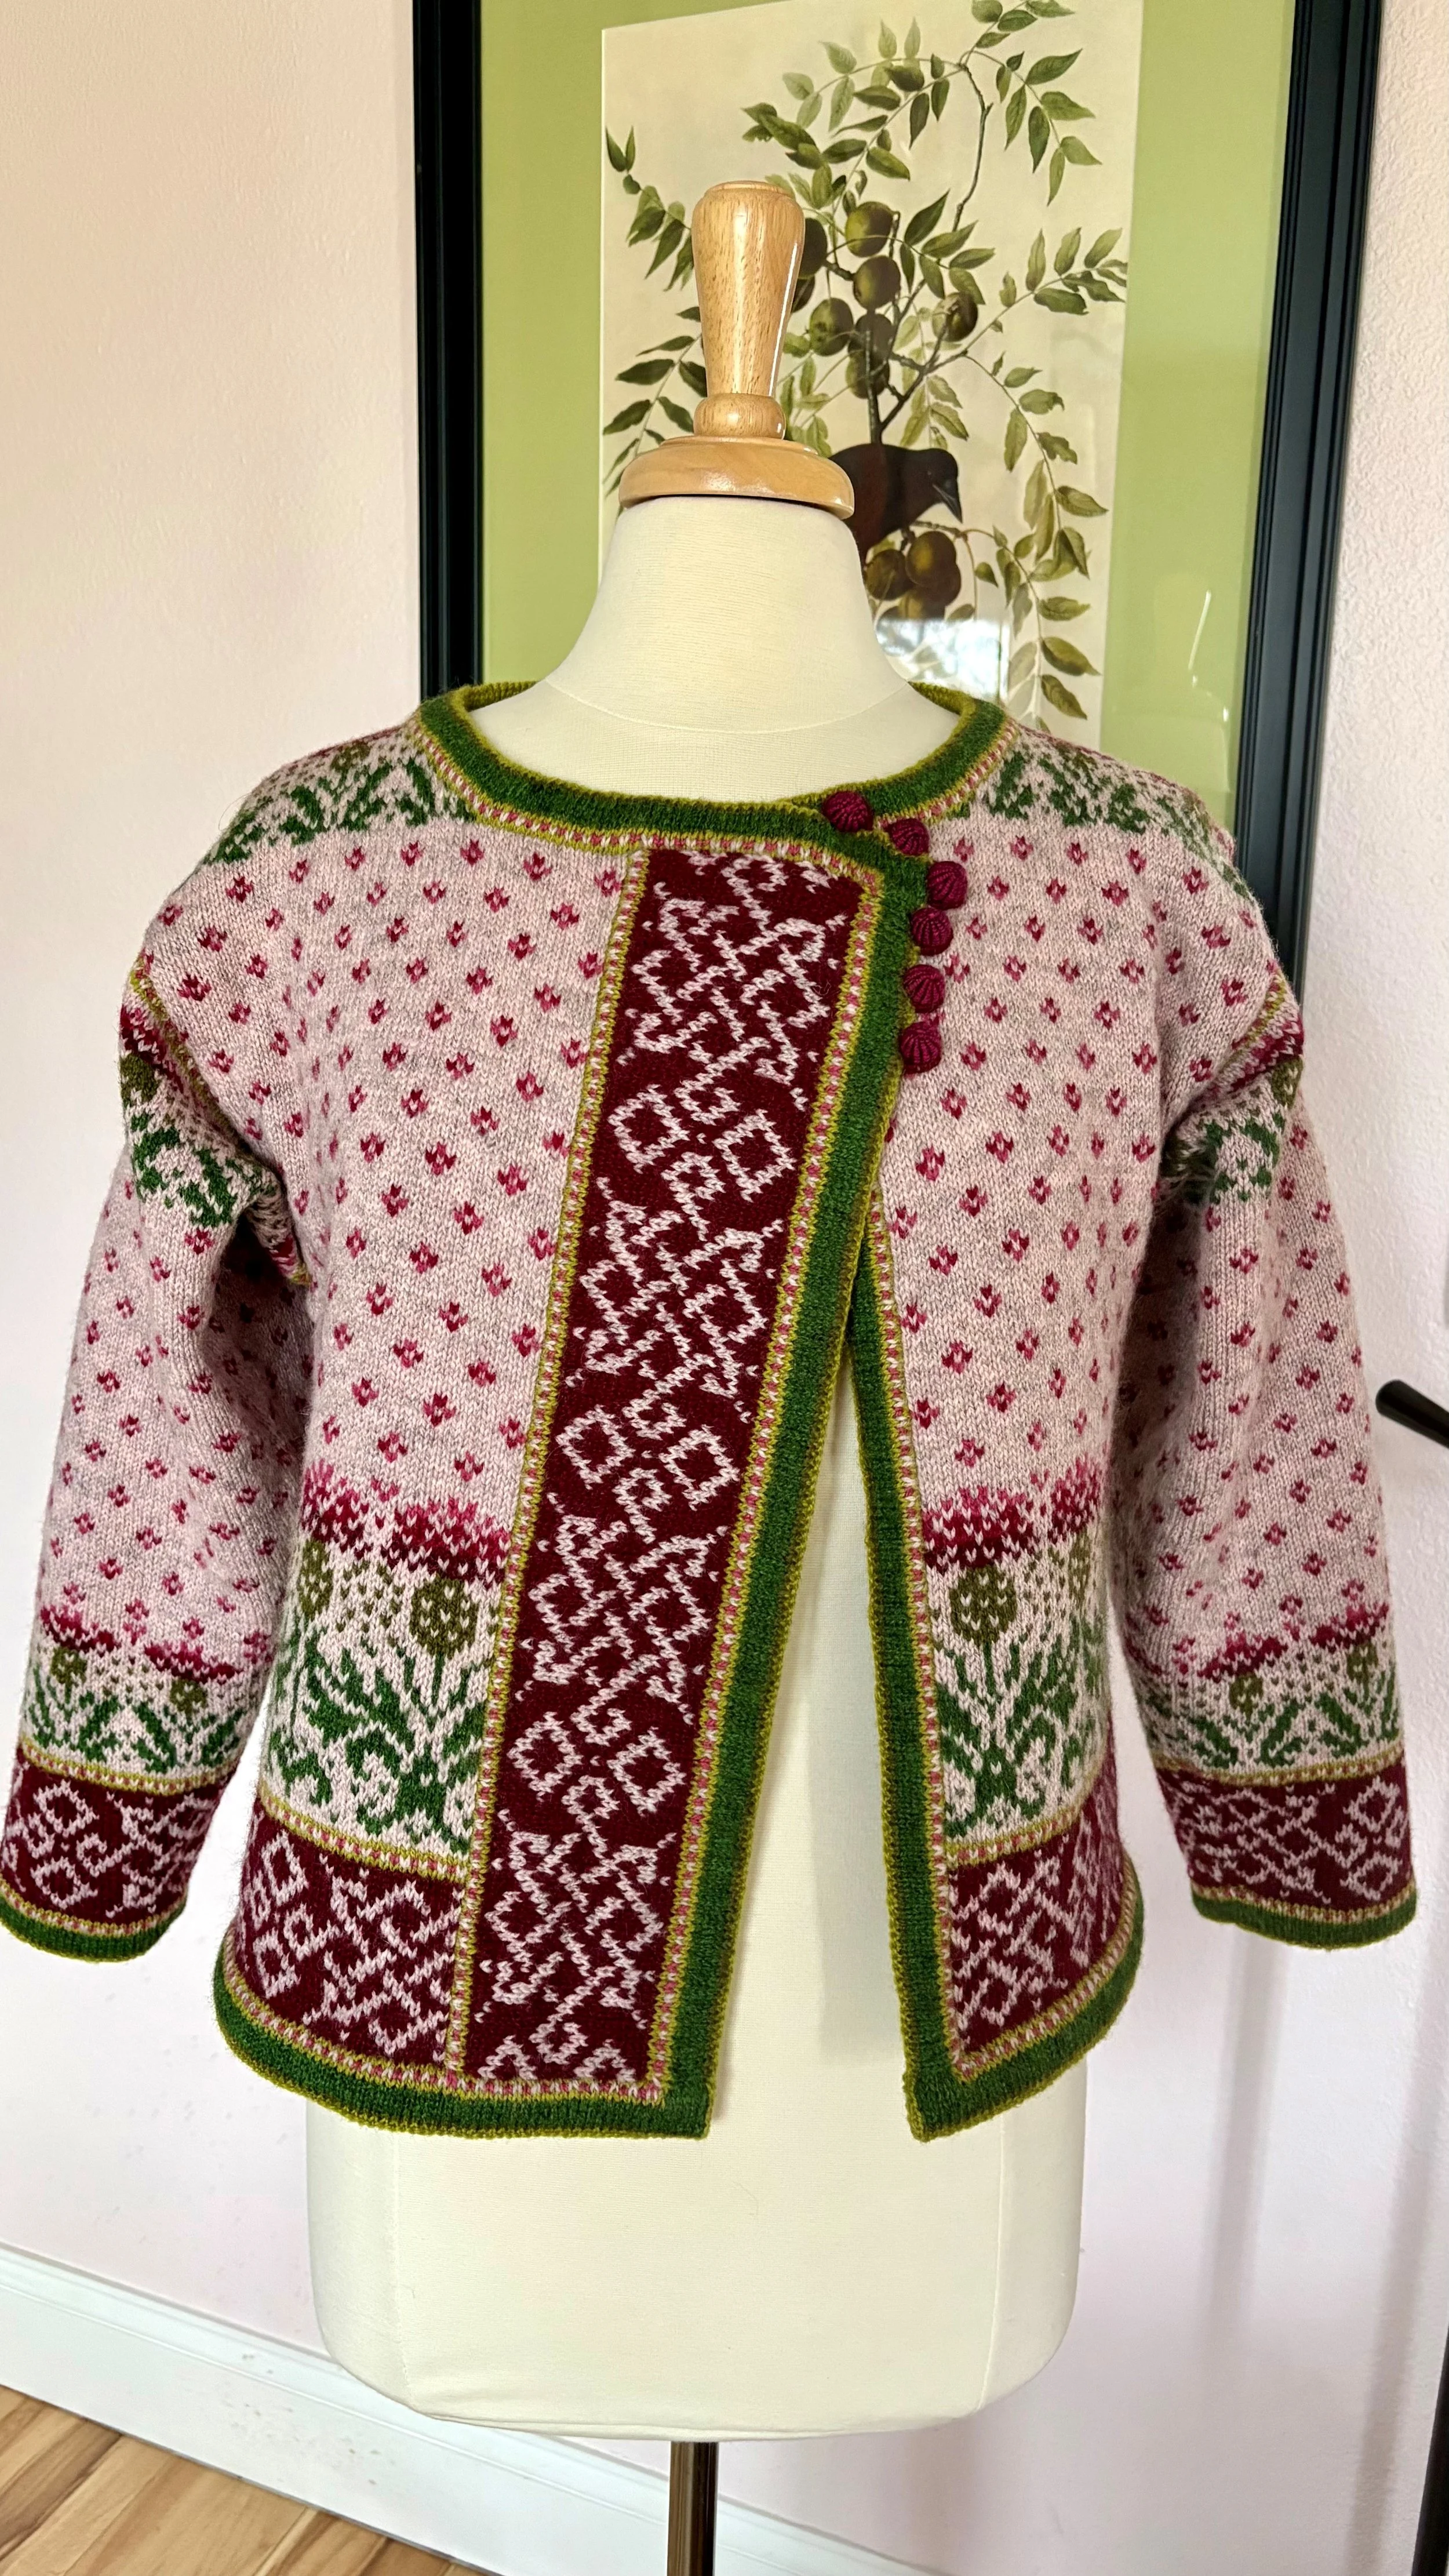
Bang.
Because More is More, and how we get there is part of the fun.